One Weekend: Winter Deck Care Plan Contractor Backed for Homeowners
A contractor backed, schedule first plan to finish winter deck care in one weekend. Step times, sealing and snow care, tools, and monthly inspection checks.
One Weekend: Winter Deck Care Plan Contractor Backed for Homeowners
Sealing your wood deck and staying ahead of snow and ice removal are the two moves that matter most this winter. This weekend, clear off furniture and debris, walk the deck to find loose or soft boards, and check the forecast for a dry stretch above 50°F. If sealing your deck, wait for that dry window. Everything else can happen around it.
TL;DR:
Sealing your deck should be done before temperatures fall below 50°F to ensure proper curing and optimal water resistance.
Use low-pressure, wide-jet pressure washing with oxygen bleach to clean the deck, avoiding damage and ensuring effective mold removal.
Apply thin, even coats of oil-based or water-based sealant during a dry, warm-weather window at least 48 hours before a freeze.
Avoid metal shovels and rock salts for snow removal, opting instead for sand or calcium magnesium acetate to prevent surface damage and corrosion.
Conduct monthly tactile inspections of the deck for soft spots, loose fasteners, and signs of rot, and address any structural concerns with a licensed contractor.
CactusdeckingBuild A Safer, Longer Lasting DeckCactus Decking creates tailored outdoor living spaces with durable materials, in-house craftsmanship, and warranty-backed installations in Everett.Explore Cactus Decking
Table of Contents
Why winter deck care matters
Pre-winter checklist and best timing to winterize
Cleaning and repairs before winter
Sealing for winter: what to use and when
Snow and ice management during winter
Furniture, planters, and covers for winter storage
Monthly winter inspection checklist
Spring readiness: what to check after winter
A contractor’s take on realistic weekend deck prep
Sources
Why winter deck care matters
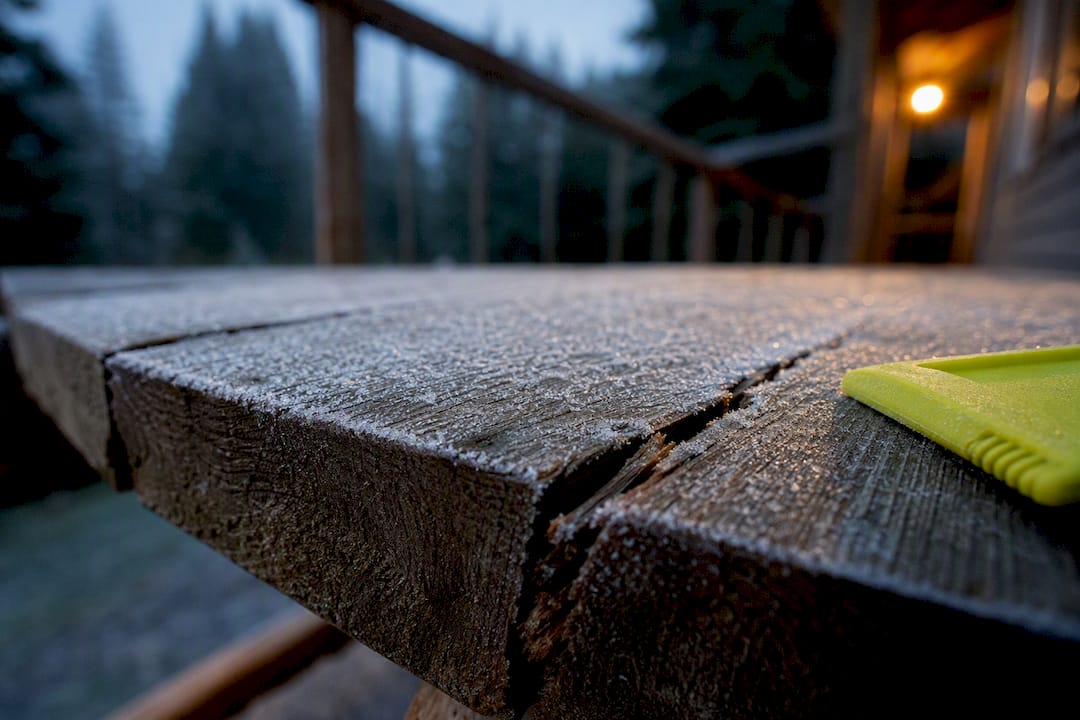
Water is the real enemy, not cold. When it seeps into wood and then freezes, it expands roughly 9% in volume, and that expansion forces open cracks that started as hairline splits. Cycle that freeze and thaw a dozen times over a Pacific Northwest winter, and small problems become rot pockets fast.
Wood and composite decks fail differently. Wood absorbs moisture directly into its fibers, so unsealed boards cup, split, and eventually rot from the inside out. Composite and PVC boards resist rot but aren’t immune to winter trouble. They can get dangerously slippery under frost, and manufacturers often specify which ice melters are safe to use on their surface.
Skip the prep and you’re looking at:
Warped or cupped boards that need full replacement, not just sanding
Loose railings from swollen, then shrunk, fastener holes
Hidden joist rot that only shows up when someone’s foot goes through a board
Pre-winter checklist and best timing to winterize
Late September through early October is the sweet spot to learn how to winterize your doors, ensuring your entire home is ready for the colder months. You get enough warm, dry days left in the season for sealant to cure properly before frost sets in. Wait too long into November and you’re gambling on a dry weekend that might not show up.
Here’s a realistic two-day plan:
Saturday morning: Clear furniture, planters, and rugs off the deck. Sweep debris out of gaps between boards. (About 1 hour.)
Saturday afternoon: Inspect every board and railing. Mark anything soft, cracked, or loose with tape. (1 to 2 hours.)
Sunday: Clean the surface, let it dry, then seal once conditions allow. (Cleaning and sealing together may take several hours spread over more than one day.)
Stock up ahead of time: oxygen bleach cleaner, a stiff-bristle brush, a few replacement boards in matching dimensions, stainless steel deck screws, sealant, and a plastic shovel for the season ahead.
Pro Tip: Check the extended forecast before you buy sealant. If rain is coming within 48 hours, push the sealing step to next weekend instead of rushing it.
Cleaning and repairs before winter
Skip standard chlorine bleach. Oxygen bleach lifts mold and mildew without breaking down wood fibers the way chlorine can. Mix it per the label, scrub with a stiff brush, and rinse thoroughly.
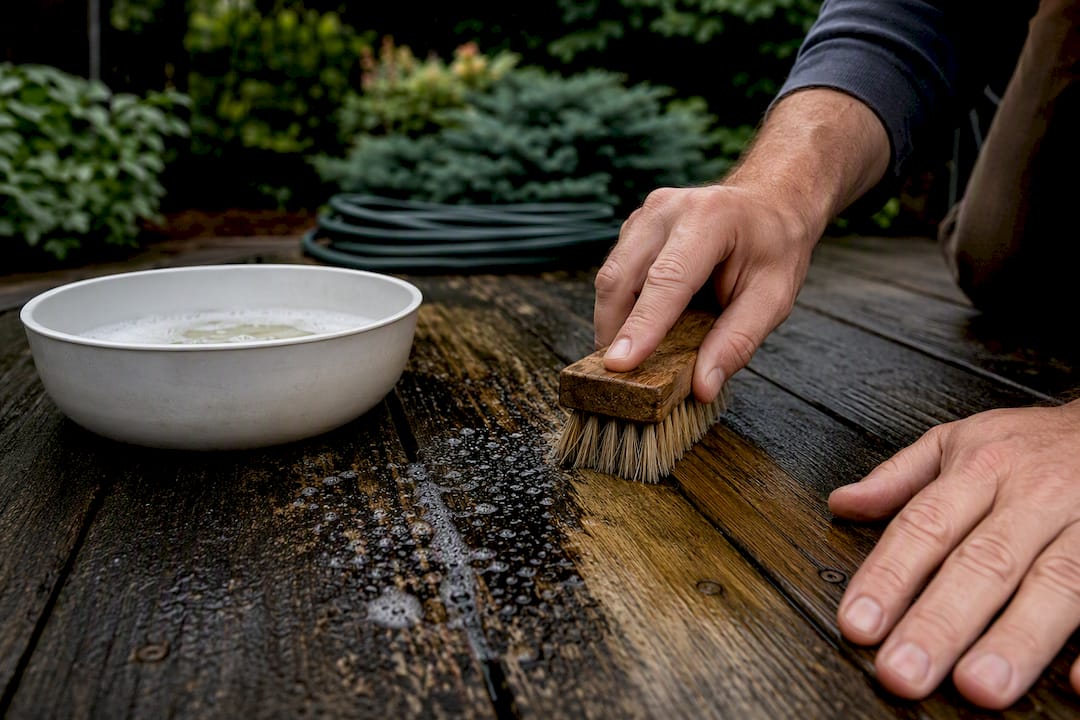
If you’re pressure washing, keep the nozzle wide and the pressure low. A tight, high-pressure stream gouges softwood and opens the grain to more water absorption, which defeats the whole point. Our step-by-step mold removal guide walks through the safer low-pressure technique in more detail.
Once clean, give it 48 hours of dry weather before sealing so the wood fully dries and the sealant actually bonds instead of trapping moisture underneath.
While you’re down there:
Replace any board that flexes, feels soft, or shows dark staining
Swap old fasteners for stainless steel screws, which won’t rust and streak the wood
Fill small surface cracks with exterior wood filler and sand rough spots smooth
Pro Tip: When resealing, mask off the seams where the deck meets siding, and use a pump sprayer on larger decks. It keeps the coat thin and even instead of pooling in corners.
Sealing for winter: what to use and when
Sealing before winter prevents cracking, splitting, mold, and rot by keeping water out of the wood grain in the first place. The product you pick matters almost as much as the timing.
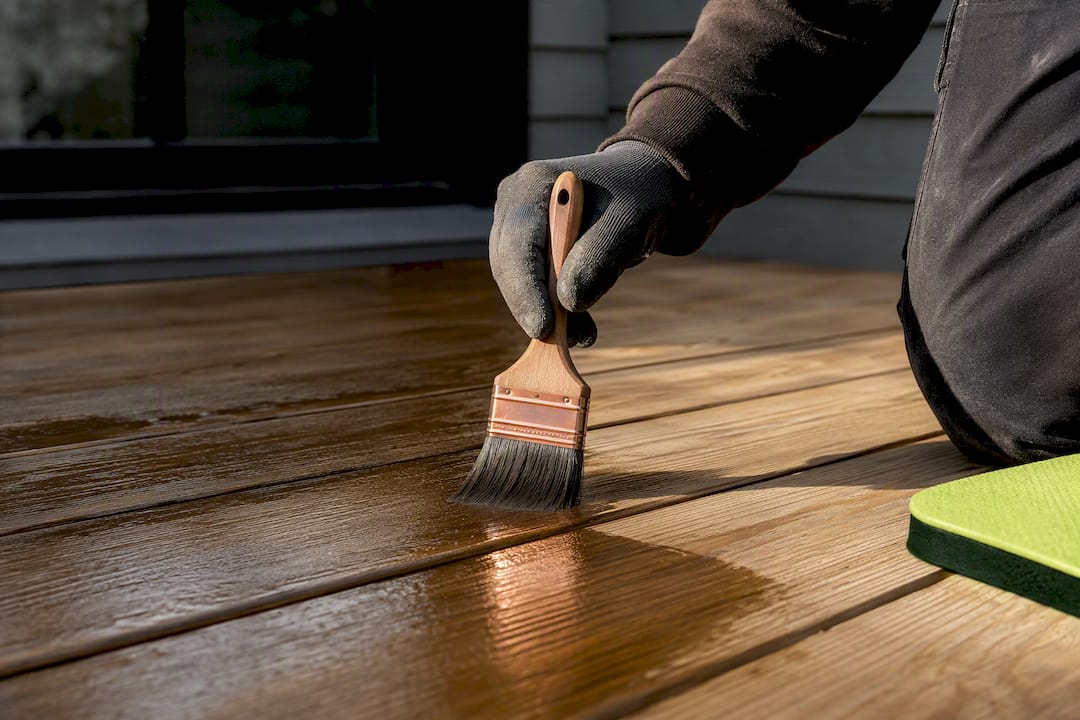
Oil-based sealers penetrate deeper into the wood and tolerate cooler application temperatures better than most water-based products. Water-based sealers dry faster and clean up easier, but they tend to sit more on the surface, which means less protection in a hard freeze.
For either type:
Apply thin, even coats with a brush, roller, or sprayer
Plan for two coats, spaced according to the product’s label, since layered coats give noticeably stronger protection than one heavy pass
Look for a sealant with built in UV and mold resistance if your deck gets direct sun exposure most of the year
Most sealants need air and surface temperatures above 50°F and at least 48 hours of dry weather to cure fully. Test readiness by splashing a little water on bare wood. If it soaks in within a minute or two, the wood is dry enough to seal. If it beads up, wait, that’s leftover moisture from a recent rain.
Snow and ice management during winter
Grab a plastic shovel, not a metal one. Metal blades and ice chippers gouge and scratch the surface finish, and those scratches become the entry point for water next season. Push snow along the direction of the boards rather than across them.
Skip rock salt entirely. Sodium chloride pulls moisture out of wood fibers unevenly and corrodes screws, hinges, and railing brackets over a season or two. Sand gives you traction without any chemical risk, and calcium magnesium acetate is a safer melting option when you need one. Composite and PVC owners should check the manufacturer’s ice-melt list first, since some deicers can discolor or degrade certain finishes.
Shovel after every snowfall rather than letting layers compact into ice
Use sand for traction on stairs and high-traffic paths
Reach for CMA-based melters only when sand isn’t cutting it
Heavy, wet snow that piles more than a foot deep, especially if it’s sitting on a deck cover or pergola, is worth a call to a contractor before you climb up there yourself.
Furniture, planters, and covers for winter storage
Bring cushions, umbrellas, and anything fabric indoors. Moisture and freeze cycles will destroy them outside all winter regardless of how good the cover is.
For furniture staying put, use breathable covers rather than tight tarps. A tarp left on all season traps humidity underneath and actually accelerates mold and rot instead of preventing it. If you do use a tarp for a single storm, pull it off within a day or two.
Lift furniture legs onto pads or blocks to stop trapped water underneath
Drain and elevate planters so they don’t crack from freezing water
Disconnect and drain your grill’s fuel line, and cover it separately from deck furniture
Monthly winter inspection checklist
Once a month through the cold season, walk the deck and physically test it, don’t just eyeball it.
Shake every railing section by hand and press down on boards near the edges, since tactile checks catch early rot and loose fasteners that a visual scan misses.
Check any joists or the ledger board you can access from below for dark staining or softness.
Snap a dated photo of anything questionable so you can track whether it’s spreading.
Soft joists, water that keeps pooling in the same spot, or rot that’s visibly grown since last month are red flags for a licensed contractor, not a weekend fix.
Spring readiness: what to check after winter
Once the weather breaks, give the deck a full inspection before you put furniture back out.
Deep clean the surface to remove winter grime and check what’s underneath
Run the water-bead test again: if water soaks in instead of beading, it’s time to reseal
Sort problems into two piles: minor board replacement and cracks you can patch yourself, versus soft framing or widespread rot that needs a professional opinion
Prioritize anything structural first, railings, joists, stair stringers, since those are safety issues, not cosmetic ones. A rotten deck board is a same-day fix. A compromised ledger board attaching the deck to your house is not something to guess at.
If the inspection turns up structural damage or you’re planning a bigger upgrade this year, Cactus Decking’s design team can walk the site and scope repairs or a full replacement before the next winter cycle starts.
A contractor’s take on realistic weekend deck prep
Where I see people get into trouble is rushing the sequence, sealing over wood that’s still damp from cleaning two days earlier instead of waiting the full 48 hours, or grabbing a metal snow shovel because it’s what was in the garage.
Those two mistakes account for most of the “why did my deck fail after only one winter” calls we get every spring. Neither is expensive to avoid.
What you shouldn’t DIY: anything involving the ledger board, joists you can’t fully inspect, or a deck that’s visibly sagging or bouncing underfoot. That’s structural work, and guessing wrong there is a safety issue, not just a cosmetic one. If your monthly checks turn up soft framing or spreading rot, that’s the point to bring in a licensed contractor rather than patching around it.
Ready to fix what winter revealed, or plan the deck you’ll actually enjoy year round? Browse the Cactus Decking gallery for material and layout ideas, or get in touch about deck installation in Everett if this season’s inspection turned up more than a weekend project.