How to Remove Mold From Your Deck Safely and Effectively
Discover safe and effective methods for mold on deck removal. Learn essential steps to protect your deck and restore its beauty.
How to Remove Mold From Your Deck Safely and Effectively
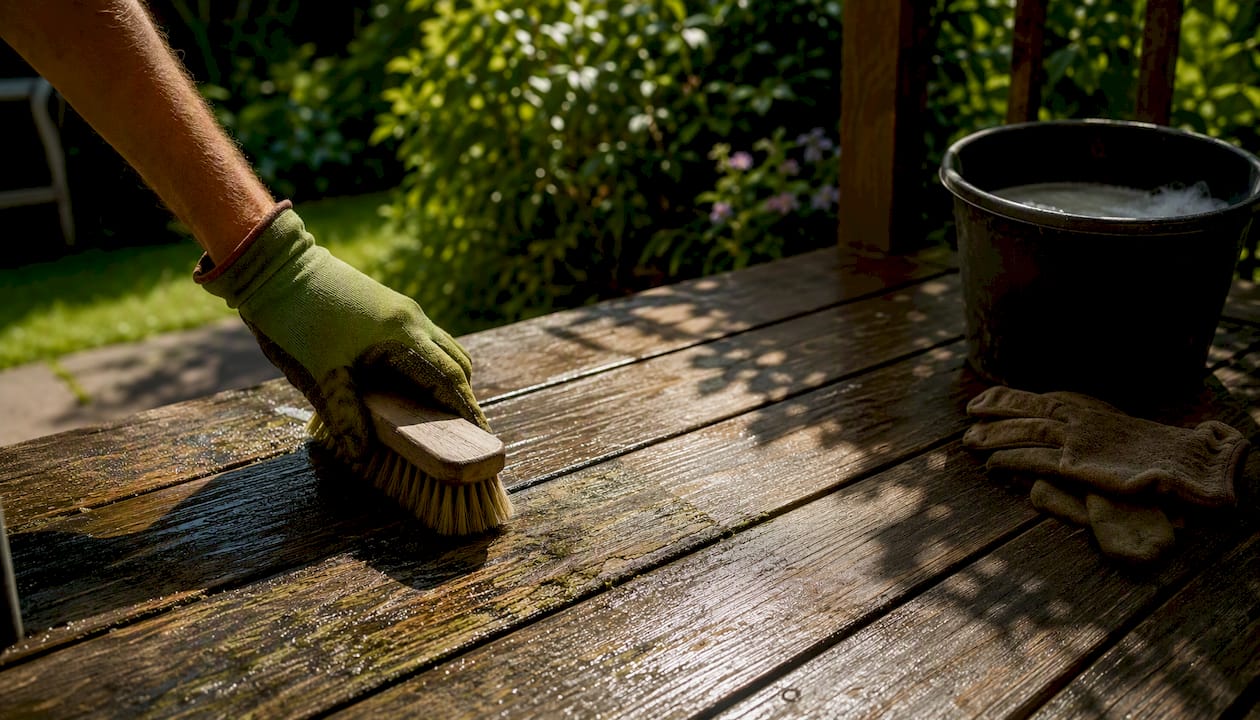
For most wood decks, an oxygen-based cleaner (sodium percarbonate) mixed with water, applied with a stiff-bristle brush scrubbing along the grain, and rinsed thoroughly is the safest and most effective starting point. For composite decks, use a cleaner your manufacturer explicitly approves. If mold covers a large area or boards feel soft underfoot, stop cleaning and call a contractor.
Before you mix anything, do these three things right now:
Move furniture and planters off the affected area so you have clear access and protect anything that could absorb runoff.
Wet nearby plants and grass thoroughly with plain water. This dilutes any cleaner that reaches them during rinsing.
Sweep loose debris off the deck surface, then test your chosen cleaner on a hidden board edge. Give it 10 minutes and check for color change before committing to the full deck.
Key Takeaways
Oxygen-based cleaners, grain-direction scrubbing, and a full 48–72-hour dry time before resealing cover the vast majority of deck mold problems — but persistent or structural issues require a contractor, not a stronger cleaner.
Point | Details |
|---|---|
Start with oxygen bleach | Mix sodium percarbonate per label, apply to sections, dwell 10–15 minutes, scrub with the grain, rinse fully. |
Pressure washing: keep it low | Limit to 1,200–1,500 PSI with a 40° wide-angle nozzle; keep the wand moving to avoid gouging. |
Dry fully before sealing | Wait 48–72 hours after cleaning; sealing damp wood traps moisture and accelerates rot. |
Call a pro at 50 sq ft or rot | Soft boards, recurring growth within weeks, or large coverage means cleaning won’t solve the problem. |
Cactusdecking for escalations | Structural inspections, board replacement, and warranty-backed installation for Everett-area homeowners. |
Table of Contents
Why does mold keep growing on your deck?
Step-by-step mold removal you can complete in a morning
Wood decks versus composite decks: the method changes
Which cleaner actually works? A practical comparison
Pressure washing: when to use it and how to avoid wrecking your deck
Staying safe while you clean
How to prevent mold from coming back
When should you call a professional instead of cleaning yourself?
A deck builder’s honest take on mold problems
Cactusdecking can handle what cleaning can’t fix
Sources
Why does mold keep growing on your deck?
Mold and mildew need three things: moisture, organic material to feed on, and limited airflow. Decks check all three boxes, especially in shaded or humid yards.
The primary drivers are:
Standing moisture from rain, sprinklers, or condensation that doesn’t evaporate quickly
Shade from trees or overhangs that keeps boards damp for hours or days after rain
Leaf litter, pollen, and dirt that settle into board gaps and feed spore growth
Poor drainage under and around the deck that keeps the substructure humid
Material porosity matters a lot here. Raw or unsealed wood absorbs water deeply, giving spores a foothold inside the fiber. Sealed wood resists surface moisture but can still harbor mold in cracks or gaps where sealant has worn. Composite boards are denser and less porous, so they’re less likely to develop structural rot, but their textured surfaces can trap organic debris and show surface staining quickly.
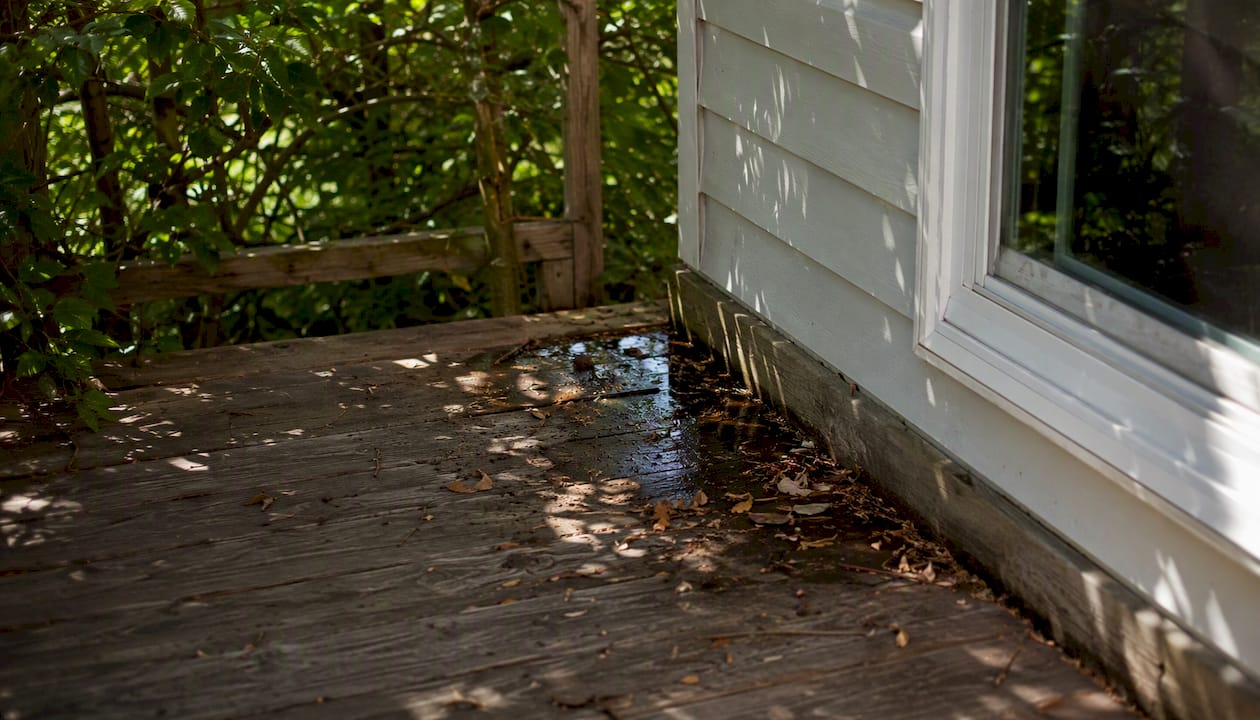
Pro Tip: Before you clean, spend five minutes on a quick environmental check. Look up: are branches hanging directly over the deck? Look down: does water pool near the ledger board after rain? These two issues cause more repeat mold problems than anything else. Cleaning without fixing them means you’ll be back out there with a brush in six months.
Step-by-step mold removal you can complete in a morning
The six-step homeowner workflow — clear, sweep, choose cleaner, apply, scrub, rinse and dry — handles the vast majority of deck mold problems when there’s no rot and coverage is manageable.
Step 1: Assess severity
Walk the deck slowly. Press a screwdriver tip into any discolored boards. Soft, spongy wood means rot has set in and cleaning won’t fix it. Mold that covers a small section (under 10 square feet) is a spot job. Widespread growth across most of the deck surface is a full-deck project — budget a half-day.
Step 2: Gather your supplies
Oxygen bleach powder (sodium percarbonate), such as OxiClean Versatile Stain Remover or a dedicated deck cleaner like Defy Wood Cleaner
Stiff-bristle deck brush (natural or synthetic bristles, not wire)
Pump garden sprayer or a bucket and brush
Garden hose with a spray nozzle
Rubber gloves, safety glasses, and an N95 mask if working in an enclosed or dusty area
Plastic sheeting or drop cloth to cover nearby plants if they’re close to the work zone
Step 3: Mix and apply
For oxygen bleach, a standard ratio is roughly 1 cup of powder per gallon of warm water. Stir until fully dissolved. Apply generously to a 10x10-foot section at a time so the solution doesn’t dry out before you scrub. Let it dwell for 10–15 minutes. You’ll often see the mold begin to lighten as the active oxygen breaks down the organic material.
Step 4: Scrub with the grain
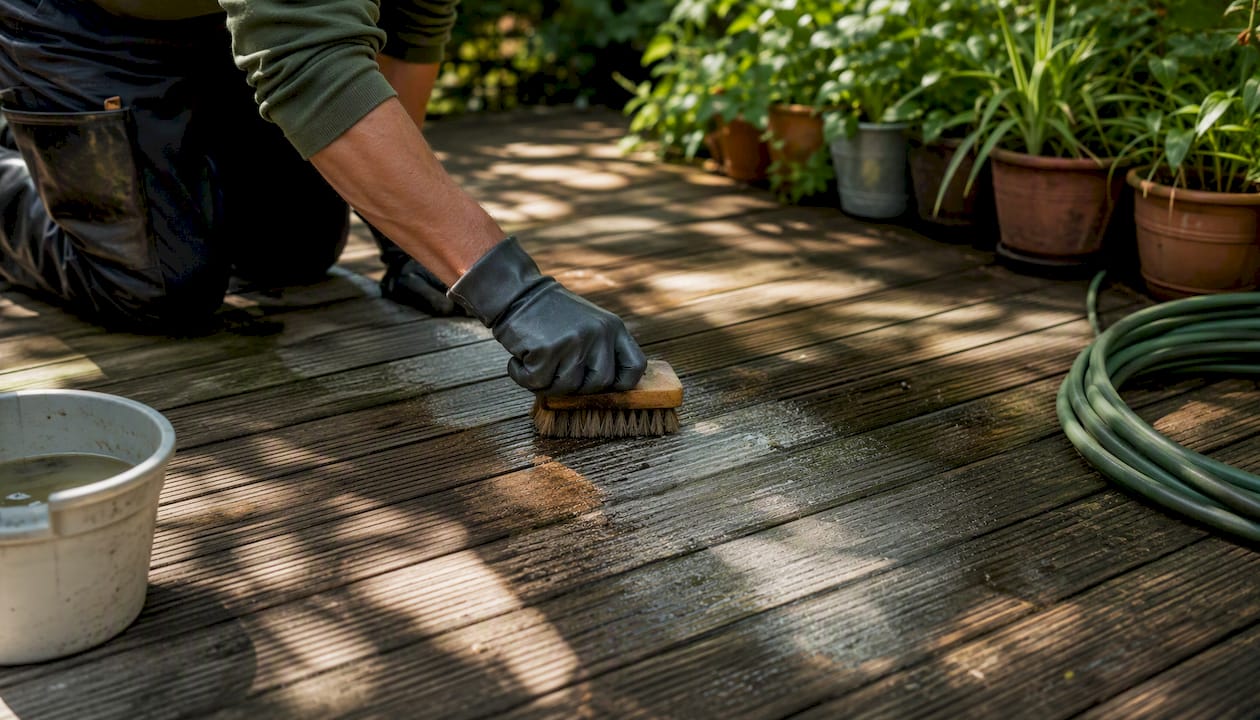
Use your stiff-bristle brush and work in the direction of the wood grain. Scrubbing across the grain on softwood can raise fibers and leave the surface rougher than before. Apply firm, even pressure. For tight gaps between boards, a narrow grout brush works well.
Step 5: Rinse thoroughly
Rinse each section completely before moving to the next. Use a garden hose at moderate pressure, working from the house outward so dirty water runs off the deck edge rather than back onto clean boards. Rinse surrounding plants a second time.
Step 6: Dry and re-check
Decks generally need 48–72 hours to dry fully before you reseal or apply stain. Sunlight and airflow shorten that window; shade and high humidity extend it. Once dry, walk the deck again. Any remaining dark spots that didn’t lift are likely tannin stains (a natural wood discoloration) or rust from metal fasteners, not mold. Tannin stains respond to a wood brightener like Defy Wood Brightener. Rust spots need an oxalic-acid-based cleaner.
Wood decks versus composite decks: the method changes
The cleaning chemistry and tool pressure that work well on a cedar deck can damage a composite board. Know which surface you’re working with before you open anything.
Wood decks
Oxygen-based cleaners paired with a stiff-bristle brush are the go-to for wood. They lift mold without the fiber damage or discoloration risk that chlorine bleach carries. Avoid chlorine bleach on stained or painted wood surfaces — it can strip color and weaken the finish. If the wood looks gray and uneven after cleaning, a wood brightener (oxalic acid-based) restores the natural tone before you reseal.
Key points for wood:
Scrub with the grain, not against it
Avoid soaking the wood longer than necessary; extended dwell times can raise grain
If pressure washing is needed, keep PSI at 1,200–1,500 and use a 40° wide-angle nozzle
Composite decks
Composite boards are denser, so structural rot is rare, but surface staining from mold and algae can be stubborn. Most composite manufacturers approve oxygen-based cleaners, but always check your deck’s care documentation first. Brands like Trex and TimberTech publish specific cleaning guidance on their websites.
Avoid wire brushes entirely on composite — they scratch the surface permanently
Use a soft to medium-bristle brush
Never use undiluted bleach; it can discolor or dull the surface finish
Pressure washing is generally acceptable at lower PSI (under 1,500), but hold the wand at least 8 inches from the surface
Pro Tip: Find a hidden board — usually under a bench or near the ledger — and test your cleaner there first. Give it 15 minutes, rinse, and let it dry. If the color or texture looks different, switch products before you’ve committed to the whole deck.
Which cleaner actually works? A practical comparison
Cleaner | Kills mold? | Safe for plants? | Safe on wood? | Safe on composite? | Best use case |
|---|---|---|---|---|---|
Oxygen bleach (sodium percarbonate) | Yes | Yes, after rinsing | Yes | Yes (check label) | Widespread mold on wood or composite |
Chlorine bleach | Yes | No — rinse immediately | Risky on stained/painted | No | Nonporous surfaces only |
White vinegar | Partially | Yes | Yes | Yes | Light surface mold, spot treatment |
Commercial deck cleaner | Yes | Varies by product | Yes (formulated for wood) | Yes (if labeled) | Stubborn stains, manufacturer-recommended |
A few things that comparison doesn’t capture:
Vinegar penetrates porous wood and kills some surface mold, but it often needs repeated applications and won’t touch deeply embedded stains the way oxygen bleach does. It’s a reasonable first attempt for a small spot before you commit to a stronger product.
Chlorine bleach is effective on hard, nonporous surfaces like concrete. On wood, it risks discoloring fibers and breaking down the lignin that gives wood its structural integrity over time. On composite, it can dull or bleach the surface color permanently. Reserve it for situations where nothing else is working and you’re prepared to reseal or refinish afterward.
Oxygen bleach releases active oxygen that breaks down organic mildew without the harsh effects of sodium hypochlorite on wood fibers. It’s the most broadly safe option across wood types and is gentler on surrounding vegetation when rinsed properly.
One safety rule that is non-negotiable: never mix bleach with ammonia-based cleaners or acidic products like vinegar. The reaction produces toxic chloramine gas. Use one product at a time, rinse completely, and wait before switching.
Pressure washing: when to use it and how to avoid wrecking your deck
The most common DIY mistake with deck cleaning isn’t using the wrong chemical. It’s using too much pressure. A standard residential pressure washer set to 3,000 PSI and a 0° pencil-tip nozzle will strip wood fibers, raise grain, and drive water into joints — all of which accelerate mold growth the next season.
Building experts recommend keeping pressure at 1,200–1,500 PSI with a wide-angle 40° nozzle, keeping the wand moving constantly, and maintaining at least 12 inches of distance from the surface. That’s a gentler setting than most homeowners expect.
When to reach for the pressure washer:
Non-pressure methods have already been tried and significant embedded growth remains
The wood is heavily weathered and has visible algae or moss in the grain
You’re doing a full-deck prep before resealing and want to open the grain slightly
When to skip it entirely:
The deck has recently been stained or sealed (within the past year)
Boards are already showing signs of raised grain or splintering
You’re working on composite decking with a smooth or lightly textured surface
Pro Tip: Test a small, inconspicuous section first — a corner or a board near the stairs. After it dries, run your hand across it. If the surface feels fuzzy or rough where it was smooth before, drop the PSI or switch to a brush-only method.
Alternative tools worth having on hand:
A stiff-bristle deck brush (the workhorse for most jobs)
A pump garden sprayer for even cleaner application
A narrow grout brush for board gaps
A garden hose with an adjustable nozzle set to “jet” or “stream” for rinsing
Staying safe while you clean
Mold spores become airborne when disturbed, and cleaning chemicals carry their own risks. Neither is worth skipping protection over.
PPE checklist:
Rubber or nitrile gloves (not thin latex — you want chemical resistance)
Safety glasses or goggles, especially when using a sprayer
N95 mask if you’re disturbing a large mold colony or working in a confined area
Long sleeves and closed-toe shoes; avoid sandals around chemical runoff
Protecting plants and surfaces:
Wet all nearby plants, grass, and garden beds with plain water before you start
Cover sensitive vegetation with plastic sheeting if it’s within 3 feet of the work area
Rinse plants again immediately after you finish rinsing the deck
Tape plastic sheeting over painted railings or outdoor fabric cushions if you’re using a sprayer — overspray from oxygen bleach can lighten fabric
Runoff and cleanup:
Work in sections and rinse each one before moving on; this prevents concentrated cleaner from pooling at the deck edge
Neutralize any leftover mixed solution by diluting it heavily with water before disposal
Follow the product label for disposal instructions — most oxygen-bleach solutions are safe to rinse into a lawn in diluted form, but check your specific product
How to prevent mold from coming back
Cleaning removes what’s there. Prevention determines how fast it returns.
Maintenance schedule:
Sweep the deck weekly during fall and spring when debris accumulates fastest
Do a light wash monthly during wet seasons — a hose rinse and quick brush is enough
Deep clean once a year, or twice if your deck is heavily shaded
Sealing and staining:
Wait the full 48–72 hours after cleaning before applying any sealer or stain. Sealing damp wood traps moisture underneath and accelerates rot. When choosing a finish, a water-repellent penetrating sealer is the baseline. On the oil vs water-based deck stain question: oil-based stains penetrate deeper into wood grain and tend to last longer in wet climates, while water-based stains dry faster, emit fewer VOCs, and clean up more easily. Either works for mold prevention as long as the surface is fully dry and the product is applied correctly.
Landscape and airflow fixes:
Trim branches that hang directly over the deck — even partial shade dramatically slows drying
Improve drainage around the deck perimeter so water doesn’t pool near the ledger board
Remove or elevate potted plants that sit directly on boards; the trapped moisture underneath is a reliable mold starter
Consider a deck cover or pergola that keeps rain off while still allowing airflow, rather than a solid roof that traps humidity
Early warning signs to catch before they spread:
Black or green spots appearing in low-traffic corners
A musty smell after rain
Slippery patches, especially in shaded areas
Discoloration along board edges or in gaps
When should you call a professional instead of cleaning yourself?
Some mold problems are cleaning jobs. Others are structural problems wearing a mold costume.
Call a contractor or mold remediation specialist when:
Mold or mildew covers more than roughly 50 square feet of deck surface
Boards feel soft, spongy, or crumble when pressed — this is rot, not surface mold
Mold returns within a few weeks of a thorough cleaning, which usually points to a moisture source that cleaning can’t fix (a drainage issue, failed flashing, or a ledger board problem)
You notice the substructure (joists, beams, or posts) showing signs of decay
The moisture source requires construction work to fix — regrading, flashing replacement, or improved ventilation under the deck
A deck contractor like Cactusdecking handles the structural side: assessing which boards need replacement, improving drainage and ventilation, and installing replacement decking with materials that resist moisture better than the original. A mold remediation firm focuses on spore containment and air quality, which matters more when the mold has spread indoors or into a crawl space.
Before a contractor visit, take photos of every affected area, note how long the problem has been visible, and write down what you’ve already tried. That history saves time during the assessment and helps the contractor identify the root cause faster.
For larger repairs or full replacements, check whether your project requires a deck permit — in most jurisdictions, structural work on decks triggers permit requirements.
A deck builder’s honest take on mold problems
Most homeowners who call about mold are actually dealing with two separate problems: the visible mold on the surface and the underlying moisture condition that caused it. Cleaning the surface without addressing the second problem is like painting over a water stain without fixing the leak.
When professionals assess a mold-affected deck, the first question isn’t “what cleaner should we use?” It’s “where is the water coming from and why isn’t it leaving?” That usually means checking the slope of the deck boards (they should pitch slightly away from the house), the condition of the ledger flashing, and whether the space under the deck has enough airflow to dry out between rain events.
Boards that look structurally sound can hide significant rot at the fastener points, where water pools in the screw holes. A probe test — pressing a screwdriver into the wood near fasteners — tells you more in 30 seconds than a visual inspection does in 10 minutes. When rot is present at fasteners, the board needs replacement, not cleaning.
The other thing worth saying plainly: the finish you choose after cleaning matters as much as the cleaning itself. A quality penetrating sealer applied to fully dry wood is the single most effective mold-prevention step a homeowner can take. Skipping it, or applying it too soon, undoes most of the work.
Cactusdecking can handle what cleaning can’t fix
When mold points to something deeper — soft boards, recurring growth, or a drainage problem that requires construction work — that’s where Cactusdecking comes in. Based in Everett, Washington, Cactusdecking offers structural deck inspections, board-by-board replacement, and full custom deck installation using composite, PVC, or cedar materials chosen for their moisture resistance and longevity.

If your deck has boards that need replacing, or if you want to rebuild with materials that resist mold from the start, Cactusdecking’s in-house crew handles everything from the initial assessment through permitted construction and warranty-backed installation. Composite and PVC options, in particular, are worth considering for shaded or high-humidity yards where wood decks consistently struggle. Browse the project gallery to see finished work, or reach out directly to schedule an inspection and get a quote.
Sources
The guidance in this article draws on the following references. Always read your specific product label and your deck manufacturer’s care instructions before applying any cleaner.
How to Remove Mold and Mildew from Decks, Siding, and Outdoor Furniture - The Clean Tips
How to Clean Wood Deck Without Pressure Washer - CleaningBro
The Best Way to Clean Mold Off Of Wood Furniture and Decks - Savvy Dwelling
How to Clean Mold off Wood Deck: Easy Steps for a Spotless Surface | (2026)