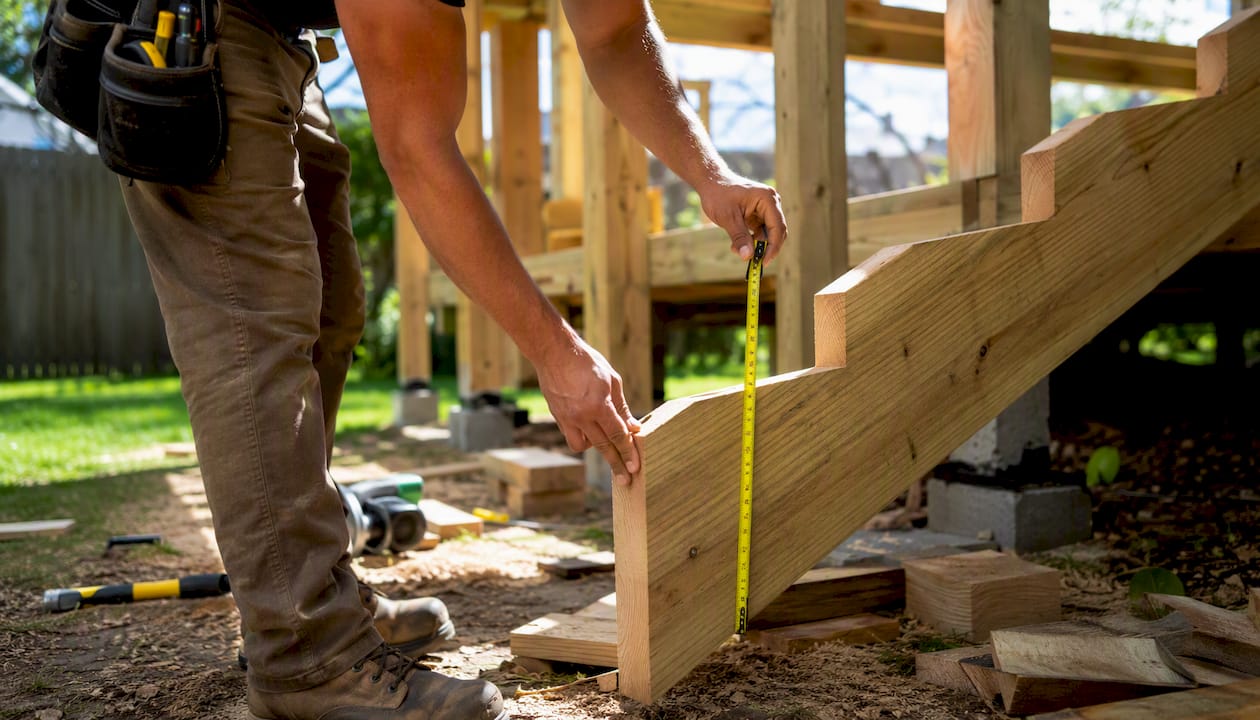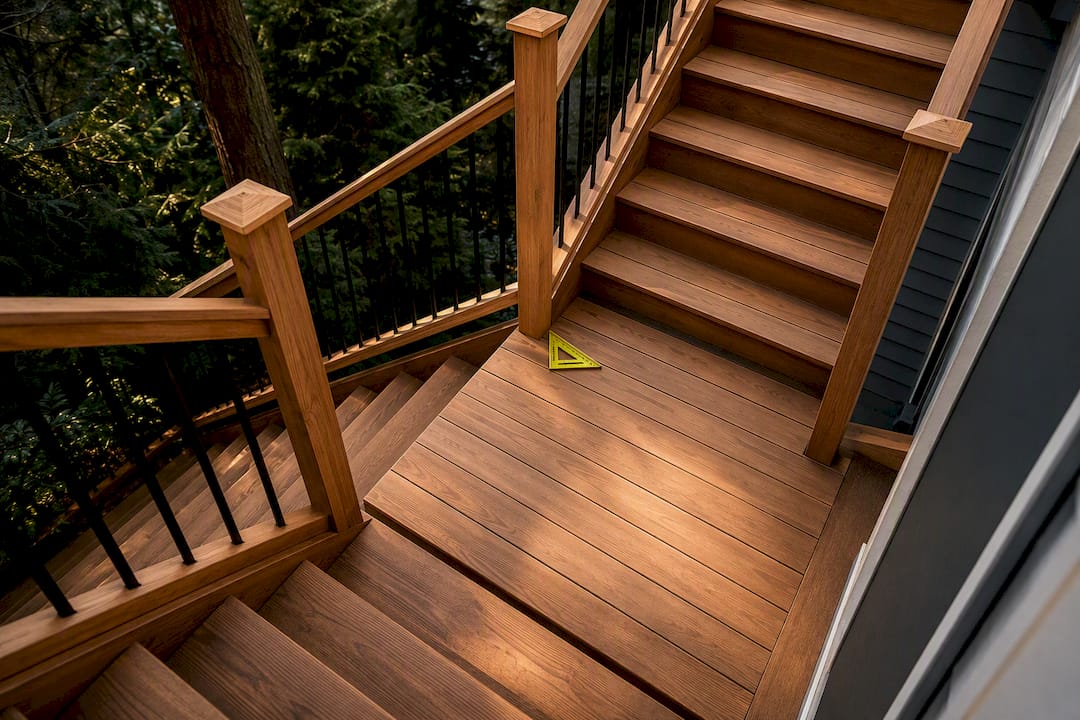

Yes, deck stairs generally need a landing at the top and bottom, and the minimum is 36 inches in the direction of travel, at least as wide as the stairs it serves. The surface must be stable, such as concrete, pavers, or fixed decking, not loose fill. Builders also treat a landing as a small deck with real footings.
TL;DR:
- Measure the finished deck to finished landing height, keep risers at or below 7¾ inches, and limit variation within a flight to ⅜ inch.
- Use 10 inch treads as the baseline; a 9 inch tread requires a 1 inch nosing where local code permits.
- Choose concrete, compacted pavers, stone, or fixed decking instead of gravel or mulch, which can settle and alter the bottom riser height.
- Everett generally requires permits for attached decks, decks over 200 square feet, decks serving as the main exit, or decks over 30 inches above grade.
- Frame the landing like a small deck, with posts on footings and bracing; attached structures may need footings dug to local frost depth.
Table of Contents
- What the code says about landing size and slope
- When you need a landing and where it goes
- How to lay out your stairs: total rise, risers, and the 7–11 rule
- Which landing surfaces hold up
- Support: build the landing like a small deck
- Fixing an uneven or out-of-level slab
- Permits and plans, with an Everett, WA example
- The code rule: a landing at the top and bottom of every stairway
- Maintenance that keeps a landing safe
- Safety features: lighting, handrails, and traction
- When to DIY and when to hire a pro
- Let us design, permit, and build your landing
- FAQ
- Sources
What the code says about landing size and slope
Your inspector will measure a deck stair landing against a short list of rules from the International Residential Code (IRC). Here is what to plan around:
- A floor or landing is required at the top and bottom of every stairway, and it must measure at least 36 inches in the direction of travel.
- The landing must be at least as wide as the stairway it serves.
- Check your local amendments before you widen a straight-run landing.
- Exterior landings may need a slight slope for drainage. Check the applicable local requirements.
- Door swings are the one common exception: a door can swing over a landing, but it must not cut the required dimension by more than the code allows.
Newcastle’s deck guide repeats these 36-inch minimums alongside the other stair rules, which makes it a handy cross-check when your local office publishes less detail.
When you need a landing and where it goes
The code generally requires landings at the top and bottom of stairways, though exceptions may apply. Check the applicable code. Tall vertical rises can also call for an intermediate landing, which keeps any single flight from climbing too far at once. Newcastle’s guide collects the stair limits that drive this decision, and your local office sets the exact maximum rise per flight.
- Start with total rise. Measure it before you decide anything else, because the number of risers and the length of the run follow from it.
- Break long runs. Builders commonly add a landing to split a long flight, which gives people a place to rest and keeps the stairs from feeling steep.
- Turn at a landing. When the stairs change direction, a landing is the natural place to do it, and it must still meet the 36-inch minimum in the direction of travel.
- Keep risers even. Place landings so every riser in a flight stays within the allowed variance, which is covered in the next section.
How to lay out your stairs: total rise, risers, and the 7–11 rule
Good layout keeps the landing, the risers, and the treads working together. Work through these steps in order:
- Measure total rise. Take the distance from the finished deck surface down to the finished landing surface or grade. Use finished surfaces, not the dirt you plan to cover, because Tacoma’s deck guidance is built around finished heights.
- Pick a riser height. Keep each riser at or below 7-3/4 inches, then divide total rise by that number and round up to get the riser count. Divide the total rise by the count for the actual riser height.
- Check riser variance. The tallest and shortest riser in a flight can differ by no more than 3/8 inch, per the Newcastle guide.
- Choose tread depth. The IRC minimum is 10 inches, and 9 inches is allowed with a 1-inch nosing where the code permits. For comfort, use the 7–11 rule: a 7-inch riser paired with an 11-inch tread feels natural underfoot.
- Place the landing. Count the treads, find where the flight ends, and size the landing so it reaches at least 36 inches in the direction of travel.
Here is an illustrative example. Say your deck sits 42 inches above the landing. Dividing 42 by 7-3/4 gives about 5.4, so you need 6 risers. Each riser then measures exactly 7 inches, which is also the comfortable 7-inch half of the 7–11 rule. Six risers means five treads, and at 11 inches each the run is 55 inches. A single flight of that size ends on a bottom landing and needs no intermediate landing.
Which landing surfaces hold up
Inspectors want a solid, stable plane at the bottom of the stairs. Builder guidance points to the same short list of materials:
- Poured concrete
- Pavers over a compacted base
- Stone slabs
- Ground-contact decking fastened to sleepers
- Fixed decking on a framed landing
Loose fill such as gravel or mulch is a poor choice. It settles and erodes, which changes the height of the bottom riser and can break the 3/8-inch variance limit. That is a common reason landings fail inspection, and it turns into a trip hazard long before anyone notices.
Slip resistance and drainage matter too. Textured concrete or pavers laid with a slight slope shed water, and a finish with a documented traction rating is worth choosing. This slip resistance guide explains how friction ratings work and why a smooth surface can fail a spec.
Pro Tip: Set the finished landing surface first, then cut your stringers to match, so the bottom riser comes out the same as the rest.
Support: build the landing like a small deck
A landing carries the full load of the stairs, so framers build it like a miniature deck. Builder guidance lays out the typical approach:
- Double the rim joists and size the joists for their span.
- Set posts under the rim, resting on footings.
- Add diagonal bracing to resist sideways loads.
- Design for 40 psf live load and 10 psf dead load, and carry stringer loads down to the footings through posts or poured concrete bearing areas.
- Dig footings to frost depth when the landing is attached to the house or supports an attached deck. Fine Homebuilding notes that footing depth depends on the design and site conditions, so ask your inspector about local requirements.
Expect to see posts and footings once the landing is done, and expect deeper digging if the landing ties into the house. Some pros prefer a poured concrete strip or slab under the stringers because it takes the load directly and leaves less framing to maintain.
Fixing an uneven or out-of-level slab
Stairs often have to land on a concrete slab that is out of level or pitched for drainage. The most common professional fix is to frame a level landing on top of the slab. That gives the stringers one flat plane and avoids cutting each one differently.
Fine Homebuilding’s pitched landing article lays out the trade-offs:
- Framed landing on the slab: the simplest to build and inspect, and the riser count includes the extra height.
- Scribing or averaging stringers: workable, but every stringer needs custom cuts and the layout gets fussy.
- Capping or repouring the slab: gives a clean result but costs more time and money.
A framed platform also changes your math, since its height adds to the stair rise, so recompute your risers before you cut anything. Most builders pick it because it keeps the stair geometry clean and tends to pass inspection without surprises.
Permits and plans, with an Everett, WA example
Permit rules vary by city, and Everett is a useful concrete example. Everett generally requires a permit for a deck that is attached to the house, larger than 200 square feet, serves as the main exit door, or sits more than 30 inches above grade. Small freestanding decks below those limits are typically exempt. Local setback rules also come into play, and our own write-up on Everett deck setbacks covers the details.
Expect to submit these plan pieces, based on Everett’s permit services:
- A site plan
- A framing and foundation plan showing joists, beams, ledger details, and footing sizes
- Connection details for the stairs, handrails, and guards
Inspectors then check the footings, ledger flashing, stair geometry, landing stability and slope, and handrail and guard heights. Tacoma’s tip sheet shows a similar submittal list, so the same plan set often travels well between nearby cities.
The code rule: a landing at the top and bottom of every stairway
The core requirement is simple to state: the IRC calls for a floor or landing at both ends of every stairway. Section R311.7.6 sets the width and depth. The landing has to be at least as wide as the stairs it serves, and its depth in the direction of travel is 36 inches at minimum.

At the top, that landing is usually the deck itself, so a deck door opening onto stairs without a proper platform is the usual trouble spot. At the bottom, the landing is the ground-level pad where people step off, and it is where most of the failures happen: a stair that simply ends in grass or loose gravel has no code-compliant bottom landing.
A landing also has to hold up. The code language on what counts as a stable surface matters here, because a surface that shifts changes your riser heights over time. And since the landing carries stair loads, it must be structurally capable of supporting them.
If you want the wider picture of risers, treads, handrails, and guards, our guide to deck stairs code walks through the rest of the requirements. Always confirm local amendments with your building department, because cities can adopt stricter versions than the model code.
Maintenance that keeps a landing safe
A landing sits low and gets the most moisture, so it ages faster than the rest of the deck. A simple routine keeps it safe and extends its life.
Cleaning. Sweep debris off regularly and wash the surface at least once a season. Leaves and grime hold water, and a damp, slick film is what makes a landing dangerous in wet weather. Use a soft brush and a cleaner suited to your material rather than anything abrasive.
Sealing. Wood landings and cedar surfaces need a fresh coat of sealer or stain on a regular schedule so water cannot soak in. Concrete and pavers benefit from a breathable sealer, which resists staining without making the surface slick. Composite and PVC boards need far less sealing, mostly just cleaning.
Checking the ground. Check the bottom riser regularly. If the ground beneath has settled or heaved, the step height has changed, and that can quickly turn into a trip hazard. Re-level pavers, and top off the base where needed.

Winter care. Shovel snow promptly and use a plastic or rubber-edged shovel to avoid gouging the surface. Be cautious with de-icers: rock salt can damage concrete and corrode metal fasteners, so choose a product rated for your surface. Where freeze and thaw cycles are common, keep water draining away from the landing so ice does not build up and lift it.
Finally, inspect fasteners, posts, and the connection between stringers and landing once a year. Loose hardware and soft wood are easy to fix early and costly to ignore.
Safety features: lighting, handrails, and traction
Meeting the minimum dimensions keeps a landing legal. A few added features keep people from getting hurt.
Lighting. Place light so it falls on the steps and the landing edge, since changes in level are where people misjudge their footing. Low-profile fixtures on the risers or posts avoid glare, and a light at the bottom of the stairs shows the transition onto the landing. Our Cactus Decking service directory work focuses on exactly these spots.
Handrails. Handrails and guards are part of the stair package, and Newcastle’s guide lists the height and spacing rules. At a landing, make sure the rail stays continuous where the stairs turn, so there is always something to hold. Guards are needed along open sides of a landing that sits high enough above grade.
Traction. Choose a surface with enough grip to stay safe when wet. Textured boards, broomed concrete, and textured pavers all help, and a slight slope for drainage keeps puddles from forming. Resist smooth sealers or glossy finishes on a landing, since these get slick under rain or frost.
Clear space. Keep planters, mats, and storage off the landing. The 36-inch dimension exists so a person can stop, turn, or step aside, and clutter eats into it. If you are planning rails or a full redesign, our deck railing systems may be part of your project.
When to DIY and when to hire a pro
Here is my view: a small, freestanding landing at the foot of one or two steps, built as a simple concrete pad, is a reasonable weekend project for a capable DIYer. The stakes are low, the footing question is simple, and the math fits on a napkin.
Everything else deserves a professional. Deep footings, ledger connections to the house, multi-run stairs, and plan submittals are where homeowners lose weekends and fail inspections. The structural pieces are also the hardest to see once they are built, so mistakes hide until they matter. I would rather see a landing built once by someone who has done it many times than rebuilt after an inspector’s red tag. If you want a local option, our in-house crews handle design, permits, and construction.
— Vlad
Let us design, permit, and build your landing
If you would rather hand this off, we handle it from start to finish in Everett and nearby areas.
We build with our own crews rather than subcontractors, and our installs are warranty-backed. We also work with composite, PVC, and cedar, so you can choose the material that suits your landing and your climate. Here is what we can take on for you:
- Deck stairs, including the landing and footings
- Everett deck design service with plans prepared for permitting
- Custom deck installation when the landing is part of a larger project
- Permitting help from first sketch to final inspection
Book a consultation through our deck stairs page, and we will walk through your layout with you.
FAQ
What are the requirements for a deck stair landing?
A landing is generally required at the top and bottom of a stairway, though exceptions may apply. It must be at least as wide as the stairs and measure at least 36 inches in the direction of travel, per IRC section R311.7.6. It also needs a stable surface and structural support. Check your local office for amendments.
Do outdoor stairs need a landing?
Yes, in most cases. The code calls for a floor or landing at both ends of every stairway, so the bottom of your deck stairs needs a solid landing rather than bare ground. Very short flights may be treated differently in some places, so confirm with your inspector.
How many deck stairs before a landing?
The code limits the vertical rise of a single flight, so tall decks need an intermediate landing to split the run. The exact figure depends on your local adoption of the code, so measure your total rise and ask your building department. Our deck stairs code guide covers the related stair rules.
What is the 7–11 rule for stairs?
It is a comfort guideline: a 7-inch riser paired with an 11-inch tread feels natural to climb. The code itself sets limits instead, with a maximum riser of 7-3/4 inches and a minimum tread of 10 inches, as the Newcastle guide lists. Staying near 7 and 11 keeps you well inside both.