Picture Frame Decking: How to Plan and Install the Border
Learn how to plan and install picture frame decking to enhance your deck's aesthetics and prevent sagging with proper support.
Picture Frame Decking: How to Plan and Install the Border
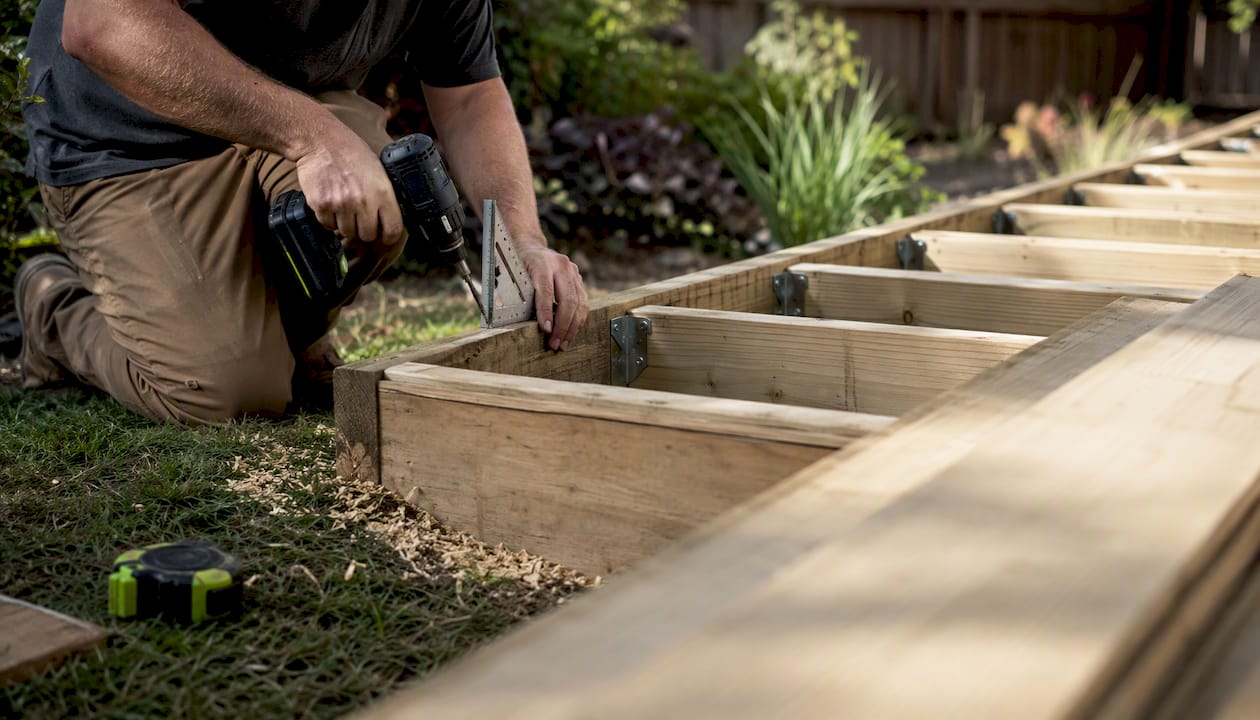
Picture frame decking means running border boards around the perimeter of your deck to frame the field boards inside, exactly like a picture frame around a painting. The single rule that determines whether the project succeeds or fails: those border boards must be supported by additional blocking or doubled joists wherever they run parallel to the existing joist direction, or they will sag.
The non-negotiable starting point: Border boards that run parallel to your joists have no joist beneath them. Without added blocking or a doubled outer joist, the border will flex, fasteners will loosen, and miters will open within a season or two. Install the support first, then the boards.
A few things to know before you pick up a saw:
Board type matters: Use square-edge (square-shoulder) boards for the border. Grooved boards expose the channel on the visible inner edge and look unfinished.
Common fasteners: Cortex and TOPLoc plug systems are the go-to options for a clean, fastener-free look on visible border boards; color-matched face screws work where plugs aren’t practical.
Materials: Composite, Advanced PVC (brands like TimberTech AZEK), and pressure-treated or hardwood all work, but each has different pre-drilling and gapping rules.
Key Takeaways
A picture-frame border succeeds or fails at the framing stage, not the board stage. Get the blocking right, use square-edge boards, and match your gap settings to the installation temperature.
Point | Details |
|---|---|
Blocking is non-negotiable | Add blocking or double joists at 16" on-center max wherever border boards run parallel to existing joists. |
Square-edge boards only | Grooved boards expose the channel on the visible inner edge; always use square-shoulder boards for the border. |
Gap by temperature | Set butt-joint and miter gaps based on ambient temperature at install time using the manufacturer’s gap chart. |
Match fasteners to material | Advanced PVC may skip pre-drilling with TOPLoc or Cortex; composite and wood typically require pre-drilling. |
Cactusdecking | Handles framing assessment, blocking, board installation, and warranty-backed finishing for picture-frame deck projects. |
Table of Contents
What should you know before starting a picture-frame border?
Tools, fasteners, and materials for picture frame decking
Step-by-step installation: framing, cutting, fastening, and finishing
How fastening and pre-drilling differ across board types
Gapping, expansion, and recommended overhangs
Common installation mistakes and how to avoid them
Should you DIY or hire a pro for picture frame decking?
Cactusdecking builds picture-frame borders the right way, from the framing up
Sources
What should you know before starting a picture-frame border?
Getting the framing and layout right before you cut a single board saves you from expensive re-dos. Work through this checklist first.
Structural prerequisites
Confirm the substructure is sound. Probe joists and beams for soft spots, rot, or insect damage. A picture-frame border adds load at the perimeter, exactly where a deteriorating outer joist causes the most trouble.
Check joist spacing and direction. Standard 16" on-center spacing works for most composite and PVC decking. Where border boards run parallel to joists, plan to add blocking or double the outer joist before ordering materials.
Verify the ledger and house attachment. Perimeter work puts lateral stress on the connection to the house. If the ledger is undersized or improperly flashed, fix it now.
Pull permits if required. Adding blocking and modifying the framing often triggers a permit in many jurisdictions. Check with your local building department before starting.
Decide on your border layout
Single, double, or triple border rows each look different and require different framing. A single border is one board wide on each side; a double border adds a second row inside the first, often in a contrasting color, requiring additional framing and materials. Ecodek’s composite picture-framing guide shows how color contrast between a dark border and a lighter field board dramatically changes the finished look. Each additional border row means more blocking and more material, so decide before you frame.
Board selection rule
Square-edge boards are not optional for the border. Grooved boards are designed for hidden clip fasteners; the groove shows on the exposed inner edge of a border board and ruins the finished appearance. B&B Decks’ picture-framing guide is direct on this point: always use square-shoulder boards for any visible border edge.
Time and material estimate
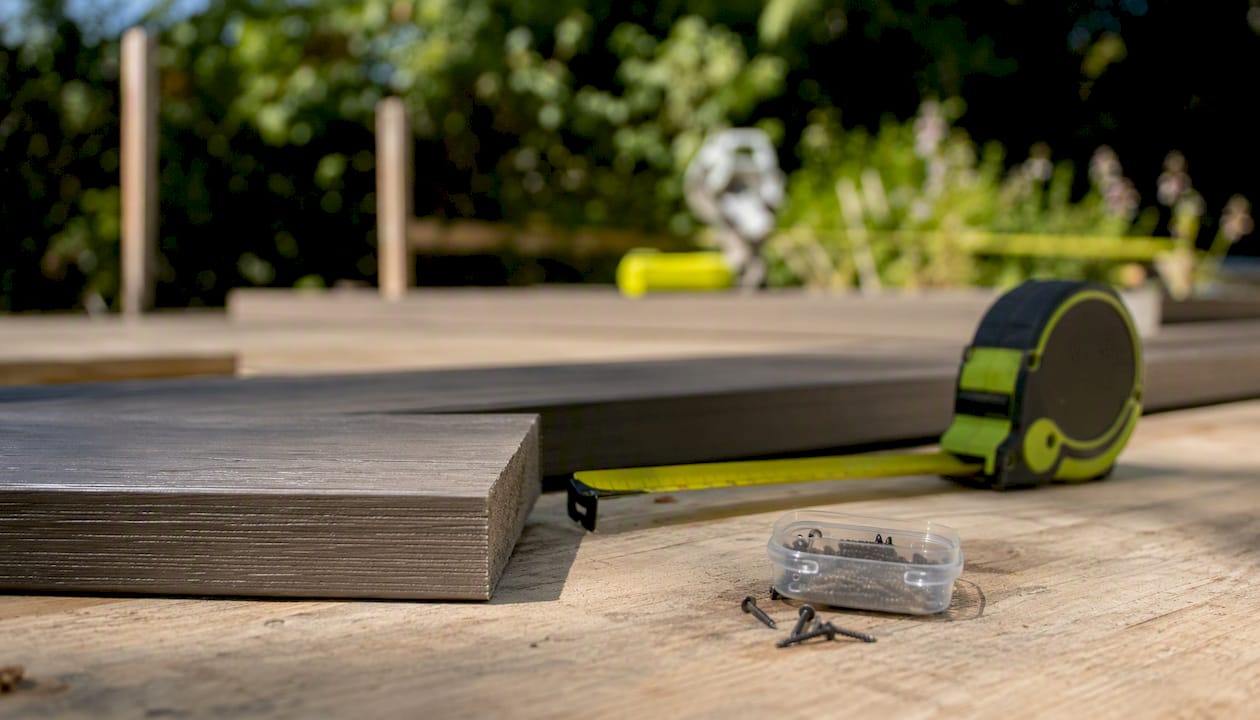
Expect a premium in both materials and labor compared to a plain-edge deck of the same size, due to the added mitering, blocking, and careful fastener placement near corners. The mitering, blocking, and careful fastener placement near corners add time. Two experienced installers working together handle the layout and fitting far more accurately than one person working alone.
Pro Tip: Check the air temperature before you cut your miters. Composite and PVC boards expand and contract with temperature, and the gap you leave at installation depends on the ambient temp that day. Set your gap values before cutting, not after.
Tools, fasteners, and materials for picture frame decking
Having the right tools on hand before you start is the difference between clean 45° miters and gaps you’ll be staring at for years.
Cutting tools
Sliding compound miter saw: The best tool for clean, repeatable miter cuts on composite and PVC. A 12" sliding model handles wider boards without repositioning.
Circular saw with a fine-tooth blade: Acceptable for straight cuts on field boards, but not ideal for miters.
Avoid underpowered cordless saws for composite or PVC: some manufacturers, including TimberTech, note that lower-torque cordless saws can cause chipping or rough edges on their boards.
Fasteners
Cortex hidden fastening system: Plugs into a pre-drilled hole and snaps flush; color-matched to the board. Works on both composite and Advanced PVC.
TOPLoc screws: Designed for TimberTech Advanced PVC boards; some systems do not require pre-drilling when using TOPLoc, per TimberTech’s installation guide.
Color-matched composite screws: Face-fastening option for composite boards where plug systems aren’t practical near miters.
Stainless steel screws: Required for hardwood and pressure-treated wood borders to prevent staining and corrosion.
The Deckorators compatible fastener guide lists plug systems and color-matched screw options compatible with their composite and PVC lines.
Blocking and framing materials
Exterior-grade lumber (same species/grade as existing joists) for blocking
Joist tape or flashing tape to protect blocking tops from moisture
Structural screws or through-bolts (no nails) for blocking installation
Angle brackets for mid-span blocking where through-fastening isn’t possible
Safety and PPE
Safety glasses (composite dust is fine and irritating)
Hearing protection when running a miter saw
Dust mask or N95 respirator, especially when cutting PVC
Work gloves for handling cut board edges
Step-by-step installation: framing, cutting, fastening, and finishing
Follow this sequence. Skipping steps, especially the framing work, is the most common reason picture-frame borders fail. B&B Decks and TimberTech both emphasize the same order: frame first, border second, field boards last.
Confirm framing is structurally sound. Walk the perimeter and probe every outer joist. Consult your board manufacturer’s installation guide for minimum joist spacing — most composite and PVC manufacturers require 16" on-center maximum, and FrenchsCustomConcepts’ 2026 guide recommends 12" on-center for a noticeably firmer feel underfoot.
Mark the inside edge of the border. Measure back from the rim joist by the board width minus your planned overhang (typically ¾" for composite with fascia). Snap chalk lines at all four sides to give yourself a clear reference line before any boards go down.
Install perimeter blocking and double joists. Wherever border boards run parallel to the existing joists, add blocking between joists at 16" on-center maximum, or sister a second joist to the outer joist. Fasten blocking with structural screws, not nails. Apply joist tape along the top of all blocking before boards go on.
Cut border boards. For a classic mitered corner, set your miter saw to 45°. Measure twice, cut once — composite and PVC can’t be uncut. Protect the board face with painter’s tape when clamping to avoid scuffing. For a contemporary square-corner look, 90° butt joints work, but miters are more forgiving of minor framing irregularities.
Dry-fit and fasten border boards. Set all four border boards in place before fastening any of them. Check that miters close tightly and corners are square. When fastening, place screws within ½" of the miter per manufacturer guidance to hold the joint tight. Use two fasteners per joist for composite; some Advanced PVC guidance calls for three fastening points near miters.
Install infill boards. Work from the border toward the house. Maintain the manufacturer-specified butt-joint gap throughout. Where hidden clips won’t fit against the border board, face-fasten the first infill board and plug the countersink.
Final inspection and finishing. Check every miter for gaps, confirm consistent reveals along all four sides, and install fascia or trim over the rim joist. Fascia should cover the rim joist face and sit tight to the underside of the border board overhang.
Pro Tip: Before fastening the final miter, hold a straightedge across the corner to confirm both boards are flush. A ⅛" height difference at a miter is nearly invisible before fastening and glaring afterward.
Blocking spacing matters more than most DIYers expect. Joist spacing at 16" on-center is the maximum for most manufacturers. Drop to 12" on-center and the border feels substantially more solid underfoot — a detail worth discussing with your framing crew before the concrete is poured.
How fastening and pre-drilling differ across board types
Not all boards fasten the same way, and using the wrong method for your material is a fast route to cracked boards or pulled fasteners.
Board Type | Pre-Drilling Required? | Recommended Fasteners | Notes |
|---|---|---|---|
Not always — check manufacturer guide | TOPLoc, Cortex | Some systems skip pre-drilling; always verify with the specific product guide | |
Yes, typically | Color-matched screws, Cortex plug system | Pre-drill to avoid surface cracking near miters | |
Pressure-treated wood | Yes | Stainless steel screws | Hot-dipped galvanized acceptable; avoid standard zinc-plated |
Hardwood (e.g., ipe, mahogany) | Yes — always | Stainless steel screws | Dense grain splits without pre-drilling; countersink for plugs |
A few material-specific details worth knowing:
Advanced PVC: TimberTech’s installation guide specifies that TOPLoc and Cortex fasteners work without pre-drilling on their Advanced PVC line. That’s a meaningful time-saver on a full perimeter border. Still, place fasteners no closer than ¾" from the board end to avoid splitting.
Composite: Pre-drilling is standard practice. Color-matched screws or Cortex plugs keep the border face clean. Near miters, composite boards need a fastener within ½" of the cut end to prevent the joint from opening as the board moves seasonally.
Wood: Face-fasten and plug the countersink for a finished look. Stainless steel screws are worth the cost on a visible border; standard screws bleed rust stains onto the board face within a year or two.
Hidden fastener systems and border boards: Hidden clips require a groove to engage. Square-edge border boards have no groove, so the border almost always requires face screws or plug systems regardless of how the field boards are fastened.
Two fasteners per joist is the standard for composite border boards. Near miters, add a third fastening point to keep the joint from lifting. For Advanced PVC, follow the specific product’s guide, as fastener counts vary by system.
Gapping, expansion, and recommended overhangs
Composite and PVC boards move with temperature. Leave too little gap and boards buckle in summer heat; leave too much and you get open joints that collect debris and look sloppy.
Temperature-based gap guide
Most manufacturers publish a gap chart tied to installation temperature. The values below reflect general composite and Advanced PVC guidance from TimberTech’s installation resources:
Installation Temperature | Butt-Joint Gap | Miter Gap |
|---|---|---|
Below freezing | ¼" | ⅛" |
Between freezing and 75°F | ⅛" | 1/16" |
Above 70°F | 1/16" | Tight (near zero) |
NeoTimber recommends approximately 4mm (about ⅛") on miter joints as a general starting point for composite boards. Always cross-reference with your specific product’s installation guide, since expansion rates vary by manufacturer and board composition.
Recommended overhangs
Composite with fascia installed: ¾" overhang past the rim joist face is typical. This hides the rim joist while leaving enough board to fasten securely.
Wood borders: 1" overhang is common, giving a slightly more pronounced shadow line.
Flush-mount: When fascia wraps the full rim joist and the border sits flush, overhang is zero. This works well on contemporary designs but requires precise fascia installation to look intentional.
Install-time checklist
Measure ambient temperature before cutting miters
Set gap spacers to the correct value for that temperature
Verify miters close fully before fastening
Apply joist tape to all blocking tops before boards go down
Pro Tip: If you’re installing on a day that’s 55°F but the boards have been sitting in direct sun, the board temperature may be 20–30°F warmer than the air. Use a non-contact thermometer on the board surface to set your gaps accurately.
Common installation mistakes and how to avoid them
Most picture-frame border failures trace back to a handful of repeatable errors. Knowing them in advance is cheaper than fixing them later.
The most common mistakes:
No blocking under the border: The single most frequent cause of border failure, per B&B Decks. Without continuous support, the border flexes and miters open within months.
Using grooved boards on the border edge: The groove shows on the inner face and looks unfinished. Always use square-edge boards.
Butting boards too tight: No expansion gap means boards buckle in heat. Follow the temperature chart.
Fastener placement too far from miters: A screw more than ½" from a miter end won’t hold the joint closed as the board moves. Place fasteners close to the cut end.
Nailing blocking instead of screwing: Nails back out over time. Use structural screws for all blocking connections.
Troubleshooting steps
Sagging border board: Check for missing or inadequate blocking first. Add blocking at 16" on-center if absent. If blocking is present but boards still flex, check whether the blocking is fastened with nails (replace with screws) or whether the joist tape has failed and moisture has softened the blocking top.
Open miter joint: Measure the gap and check whether both boards have moved or just one. If movement is seasonal, the gap was set too wide at installation. Re-cut the miter on the shorter board, re-fit, and fasten within ½" of the cut end. For a temporary fix on a wood border, a spline or biscuit glued into the miter can stabilize the joint while you plan a proper repair.
Fastener pulling through the board face: Usually means the wrong fastener diameter or the board wasn’t pre-drilled when it should have been. Remove, pre-drill, and re-fasten with the correct screw.
Pro Tip: Do a seasonal check every spring. Walk the border and press down on each board section. Any flex you feel means blocking has shifted or failed. Catching it early means a screw repair; catching it late means reframing.
When a cosmetic fix is enough vs. when you need to reframe
A cosmetic repair works when the substructure is sound and the issue is surface-level: a loose fastener, a slightly open miter, a board that needs re-plugging. Reframing is necessary when blocking is missing across a full side, when the outer joist is rotted, or when the border has sagged enough to create a visible slope. At that point, pulling the border boards and fixing the framing is the only durable solution.
Should you DIY or hire a pro for picture frame decking?
The honest answer depends on three things: your miter-cutting accuracy, your ability to modify framing, and the complexity of your deck’s layout.
DIY is realistic if you can check all of these
You’ve cut accurate 45° miters before and have a sliding compound miter saw
You’re comfortable installing blocking and sistering joists, including applying joist tape
Your deck is a simple rectangle with no posts or stairs interrupting the border
You have a helper for the layout and dry-fit stages
Your deck is structurally sound and needs no reframing before you start
Hire a professional when
The outer joists need sistering or replacement before the border can go on
The deck has complex geometry: angled corners, posts mid-border, or stairs that interrupt the frame
Permits are required and you’re unfamiliar with the inspection process
The deck is large enough that miter errors compound across a long run
You want a warranty-backed installation with manufacturer-aligned fastening
What a contractor quote should include
Framing assessment and blocking/joist work (itemized separately from board installation)
Board type, grade, and color specified by name and SKU
Fastener type and system (Cortex, TOPLoc, face screws)
Estimated labor hours and crew size
Permit handling and inspection coordination
Cleanup and haul-away
Warranty terms on both labor and materials
For a typical 12’×16’ deck, expect one to two experienced installers to complete the border framing, cutting, and fastening in a full day, assuming the substructure is already sound. Multi-level decks or complex corner geometry add time. Get a deck design consultation before finalizing your material order, since the layout directly affects how much blocking and how many linear feet of border board you need.
Questions to ask a contractor, and red flags
Ask:
How do you handle blocking where border boards run parallel to joists?
What fastener system do you use for border boards, and why?
Do you follow the manufacturer’s installation guide for the specific board product?
What’s your process if a miter doesn’t close cleanly after installation?
Red flags:
No mention of blocking or joist support in the quote
Proposing to use grooved boards for the border
No gap specification or temperature-based gapping plan
Fastener type listed only as “screws” with no brand or system named
What the framing step actually costs you if you skip it
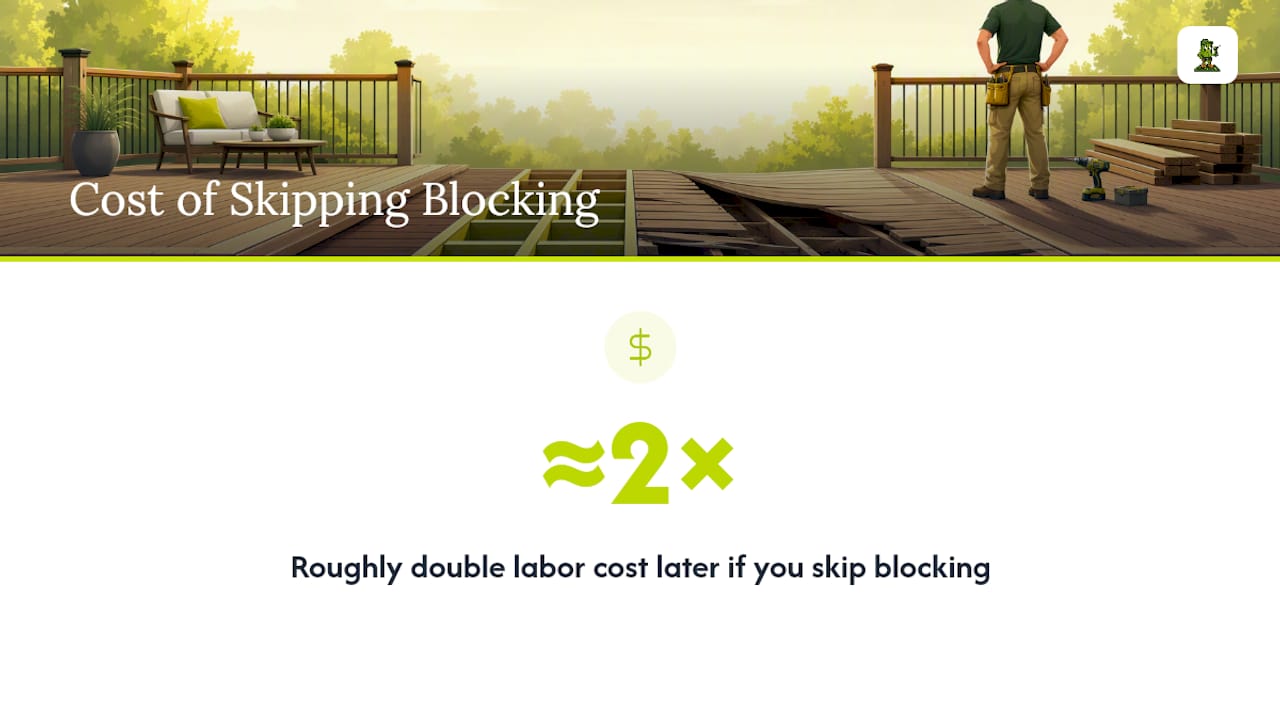
Skipping the blocking step is the most expensive shortcut in picture-frame decking. The boards themselves are fine. The miters look tight on day one. But without continuous support at 16" on-center, the border flexes every time someone walks near it, and within a season or two, those miters open and fasteners back out. Pulling a finished border to add blocking after the fact means removing every border board, reframing, and reinstalling. That’s roughly double the original labor cost for a job that should have been done right the first time.
The framing work is also where the skill gap between a careful DIYer and an experienced crew shows most clearly. Measuring blocking positions, sistering a joist, and keeping everything level across a full perimeter takes patience and the right tools. If that part of the job feels uncertain, the smarter move is to hire a crew for the framing and finish the board installation yourself. Most contractors will quote framing-only work.
Cactusdecking builds picture-frame borders the right way, from the framing up
Picture-frame detail work is where a deck goes from functional to finished, and it’s also where shortcuts show up fastest. Cactusdecking handles the full scope: framing assessment, blocking installation, board selection, and the miter work that makes the border look sharp for years. Every installation follows manufacturer guidelines for the specific board product, whether that’s TimberTech, Trex, AZEK, or Deckorators, and every project is backed by a warranty on both labor and materials.
The process starts with an on-site consultation where the crew assesses your existing framing, confirms joist spacing and condition, and recommends the right board type and fastener system for your layout. Permits, material sourcing, and cleanup are all handled in-house. Browse completed deck projects to see finished picture-frame borders and color combinations, then request a custom installation estimate to get a quote that covers framing, materials, and labor in one place.
Sources
TimberTech DIY Resources — Chapter 5: Picture Framing Installation for decking (PDF)
How to Picture Frame a Deck: Proper Framing & Blocking — TimberTech
Deck Picture Framing Guide: Borders & Breaker Boards — B&B Decks
How to Picture Frame a Deck (Wood + Composite) | 2026 Guide — FrenchsCustomConcepts