
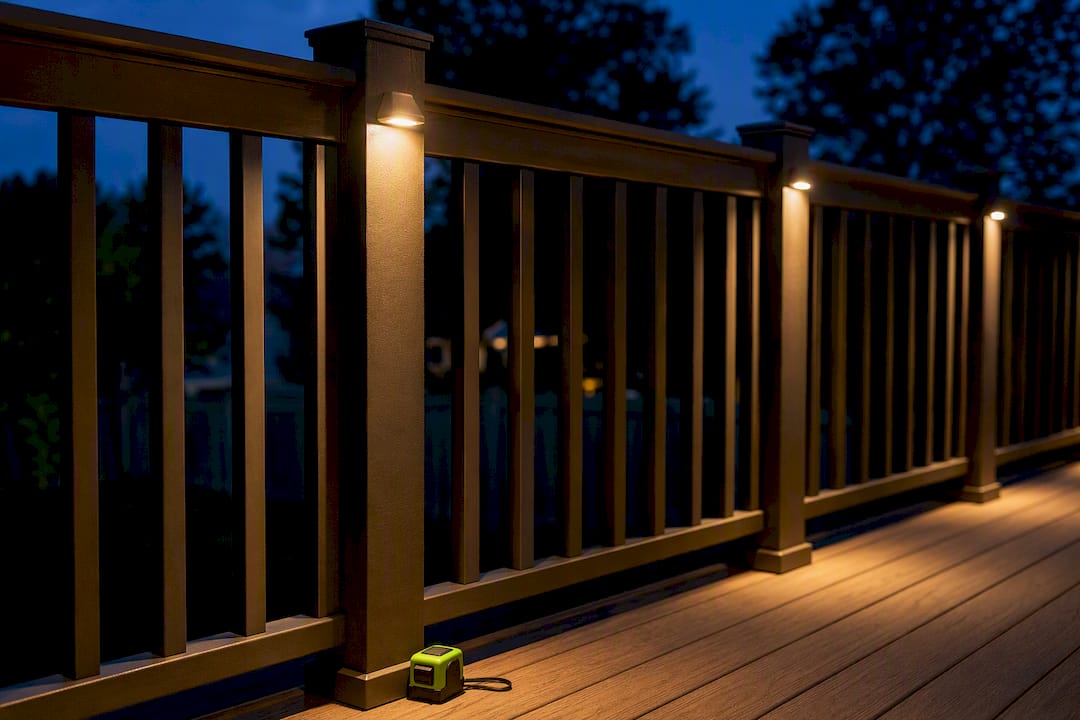
Light stairs, thresholds, and level changes first. Everything else is flexible. Start rail and post lights at 4 to 6 feet apart, recessed lights at 6 to 8 feet, then walk the deck after dark with a temporary mock-up before you commit to a single hole. Watch for glare off nearby glass and resist the urge to overfill the run. A deck with too many lights looks like a runway, not a living room.
TL;DR:
- Fixture spacing depends on the type, with rail and post lights typically placed every 4 to 6 feet, and recessed lights spaced 6 to 8 feet apart, depending on beam spread.
- Safety points such as stairs and level changes must be illuminated with at least one fixture per riser to ensure safety and completeness.
- Before installing, perform a nighttime mock-up to test glare, sightlines, and fixture placement, and always include extra transformer capacity for voltage drop.
- Mixing fixture types like sconces, post caps, and recessed lights creates layered lighting, which looks more natural and appealing.
- Adjust fixture spacing based on deck surface color, reflected interior light, and beam angle to prevent dark patches or glare issues after installation.
Table of Contents
- What Is the Right Deck Light Spacing?
- How Do You Map Out Deck Light Placement Before Installing?
- Do Different Fixture Types Need Different Spacing?
- What Changes the Ideal Spacing for My Deck?
- What Do Installers Actually Do Before Drilling?
- How Does Cactus Decking Approach Deck Light Spacing?
- Ready to Get Your Deck Lighting Professionally Planned?
- Sources
What Is the Right Deck Light Spacing?
Deck light spacing follows a simple hierarchy: safety points get lit no matter what, then the rest of the deck gets spaced by fixture type. Most guides land on a 4 to 8 foot range for typical deck lighting, with rail and post lights running tighter at 4 to 6 feet and recessed lights stretched out to 6 to 8 feet. Stairs are their own category. Every riser gets a light, full stop, no matter how that affects your spacing math elsewhere on the deck.
Here’s how the ranges break down in practice:
- General deck runs: 4 to 8 feet, adjusted for fixture brightness and beam spread.
- Rail and post lights: 4 to 6 feet, often lined up with existing structural posts.
- Recessed deck lights: 6 to 8 feet on open runs, tighter near corners or transitions.
- Stair risers: one fixture per riser, not spaced by a formula at all.
Endpoints matter more than most people think. Putting a light near each end of a run makes the deck feel finished and avoids dark corners, but it also changes your count. A calculator-style formula handles this cleanly: light count equals the run length divided by your target spacing, rounded up, plus one for the extra endpoint fixture. Then you divide the run length by (light count minus one) to get your actual spacing.
Say you have a 24-foot railing run and want lights every 6 feet. That gives you five fixtures, and dividing 24 by four intervals lands you at exactly 6 feet apart, evenly split end to end.
How Do You Map Out Deck Light Placement Before Installing?
Grab a tape measure and walk your deck like a stranger would at night. That’s the real first step, before any spacing math happens.
- Trace the travel path. Note every door, landing, riser, and direction change. These are your non-negotiable fixture spots.
- Light the safety points first. Stairs get a light per riser. Thresholds and level changes get direct illumination, not ambient spillover from ten feet away.
- Divide the remaining runs. Once safety points are locked in, split what’s left using your chosen spacing (4 to 6 feet for rail lights, 6 to 8 feet for recessed).
- Handle long runs and wide stairs separately. A 40-foot railing might need a slightly wider spacing than a 12-foot one to avoid an overwhelming fixture count, and wide stairs sometimes need lights on both sides, not just one.
- Account for existing house lights. A porch light or sconce near the door counts as a fixture in your layout. Don’t double up right next to it.
Designers commonly anchor corners and structural posts first, then fill in the straight runs between them. It keeps the layout looking intentional instead of mechanically even.
Pro Tip: Sketch your deck on paper first, mark every safety point with an X, then only start counting spacing intervals once the X’s are placed. It keeps you from accidentally under-lighting a landing because you were focused on hitting a clean 6-foot rhythm.
Before you drill anything, check your transformer’s rated capacity against your total fixture load, and if you’re running low-voltage wire for an extended distance, budget extra headroom for voltage drop. Anything touching your home’s line voltage panel is an electrician’s job, not a weekend project.
Do Different Fixture Types Need Different Spacing?
Yes, and this is where a lot of DIY plans go sideways. A recessed light throws light differently than a rail-mounted fixture, so the same spacing rule can’t cover both.
- Post cap and rail lights: Start at 4 to 6 feet, and align them with existing posts when you can. It reads as intentional rather than scattered.
- Recessed and step lights: Often spaced 6 to 8 feet on open runs, but pull that in tighter near stairs or direction changes. Riser lights aren’t spaced by formula at all; you plan for one per riser as a baseline safety measure.
- Under-rail strips and wide-beam fixtures: These can sometimes stretch to 6 to 10 feet apart because the beam spread covers more ground per fixture, depending on the lumen output and lens design.
- Wall sconces and accent uplights: These aren’t spaced at regular intervals at all. They get placed by purpose, next to a door, framing a post, highlighting a plant bed, not by a measuring tape.
Mixing fixture types on one deck is normal and often looks better than uniform spacing everywhere. A deck with post caps on the rail, one recessed light per stair riser, and a sconce by the door isn’t inconsistent. It’s layered, which is how most professionally lit decks actually look.
What Changes the Ideal Spacing for My Deck?
The 4 to 8 foot range is a starting point, not a fixed rule, because several variables push it wider or narrower.
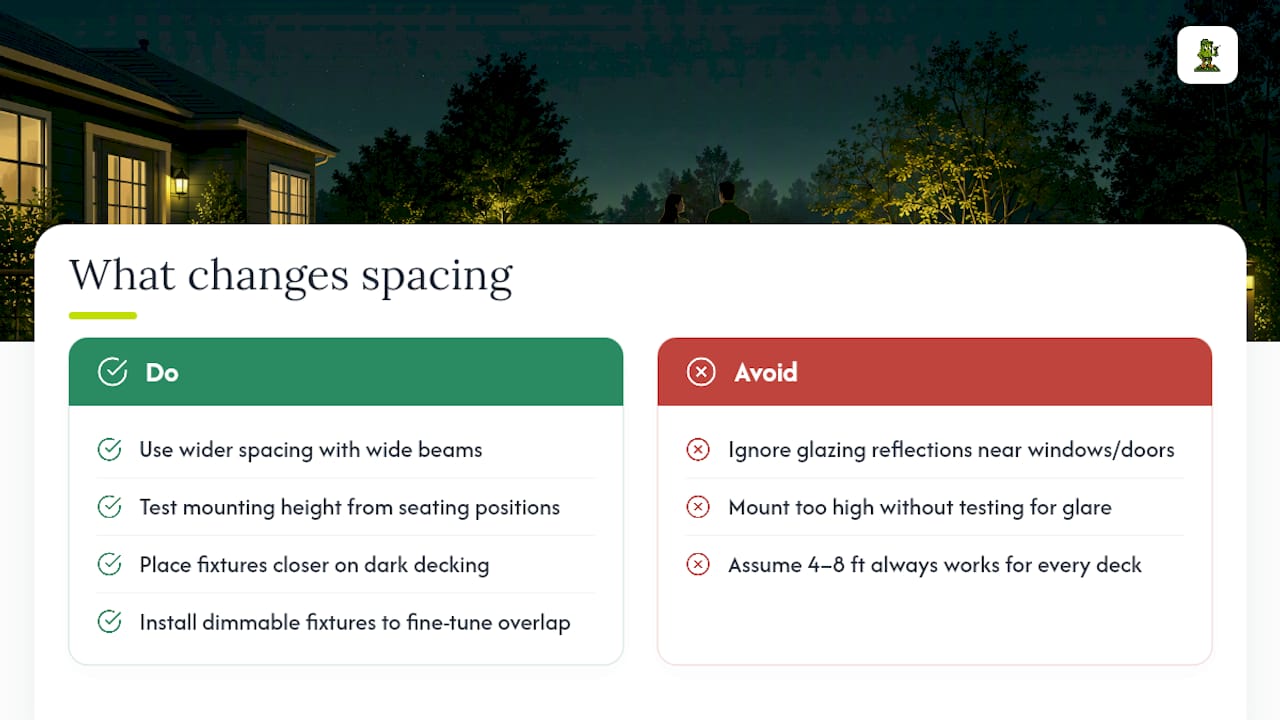
Lumen output and beam angle matter most. A fixture with a wide beam angle covers more ground per unit, so wider beam angles support wider spacing without creating dark gaps. Mounting height works the same way: higher fixtures throw light further, but they can also introduce glare at eye level, so test from where people will actually sit or stand before finalizing anything.
Surface color plays a bigger role than most homeowners expect. Light-colored composite or cedar decking bounces light back up and can tolerate wider spacing, while dark decking absorbs more light and usually needs fixtures closer together to avoid dim patches.
Glass is the wildcard. Sliding doors and windows near the deck amplify reflected light, which can turn a well-planned layout into an uncomfortable glare-fest inside the house at night. Cut fixture count or dim output near glazing rather than fighting it after installation.
Pro Tip: Install dimmable fixtures wherever your budget allows. Dimming lets you fine-tune overlap after the fact instead of relocating a fixture, which is a much bigger job once wires are buried.
What Do Installers Actually Do Before Drilling?
Professional installers rarely trust a spacing chart on its own. They mock it up, then adjust.
- Run a nighttime test first. Set up at least three fixtures temporarily, plug them in, and walk the deck after dark. This single step catches more layout mistakes than any amount of measuring on paper.
- Check sightlines from where people sit, not just where they stand. A fixture that looks fine from a standing walkthrough can glare straight into someone’s eyes from a dinner chair.
- Plan your transformer with headroom. Build in roughly 20% extra transformer capacity beyond your calculated load, and run a voltage drop check on any low-voltage line stretching past 50 feet.
- Drill straight and drill once. Pilot holes should go in perpendicular to the surface. An oversized hole is a common retrofit headache, and while a silicone-based outdoor adhesive can stabilize a loose fixture, treat that as a last resort, not a plan.
- Bring in a licensed electrician for anything touching line voltage, complex load calculations, or local code questions. The National Association of Home Builders publishes general guidance on safe construction practices, but code enforcement varies by jurisdiction, so check with your local authority or a licensed electrician for anything beyond simple low-voltage runs.
How Does Cactus Decking Approach Deck Light Spacing?
We treat stairs as the first decision, not an afterthought, and we mock up every layout at night before anything gets drilled. Spacing shifts depending on whether you’re building in composite, PVC, or cedar, since each surface reflects light differently. We back every install with a warranty, so the layout you approve is the layout you get. Browse our project gallery or request a consultation to see it firsthand.
— Vlad
Ready to Get Your Deck Lighting Professionally Planned?
A mock-up and a tape measure get you most of the way there, but a professional lighting plan skips the trial-and-error entirely, especially on decks with multiple stair runs, mixed materials, or glass doors nearby that complicate glare control. Cactus Decking builds lighting into the design phase rather than bolting it on afterward, so your spacing decisions account for your decking material, your railing style, and your electrical load before a single hole gets drilled.

We handle the wiring, transformer sizing, and fixture installation as part of a warranty-backed build, which means you’re not troubleshooting voltage drop on your own after the fact. If you’re planning a new deck or upgrading an existing one, start with a Everett deck design service and ask about a lighting mock-up as part of the process. For decks that just need a lighting retrofit, our new deck installation service can walk your existing layout and tell you exactly where spacing needs to shift.
Sources
- How Far Apart Should Landscape Lights Be? A Practical Guide to Path, Step, Deck, and Uplight Spacing
- Deck Lighting Calculator
- 5 Best Deck Lighting Layout Ideas
- Ies


