Cable Deck Railing: Your Complete Buying Guide
Discover the advantages of cable deck railing in our complete buying guide. Ensure safety and stunning views for your deck today!
Cable Deck Railing: Your Complete Buying Guide
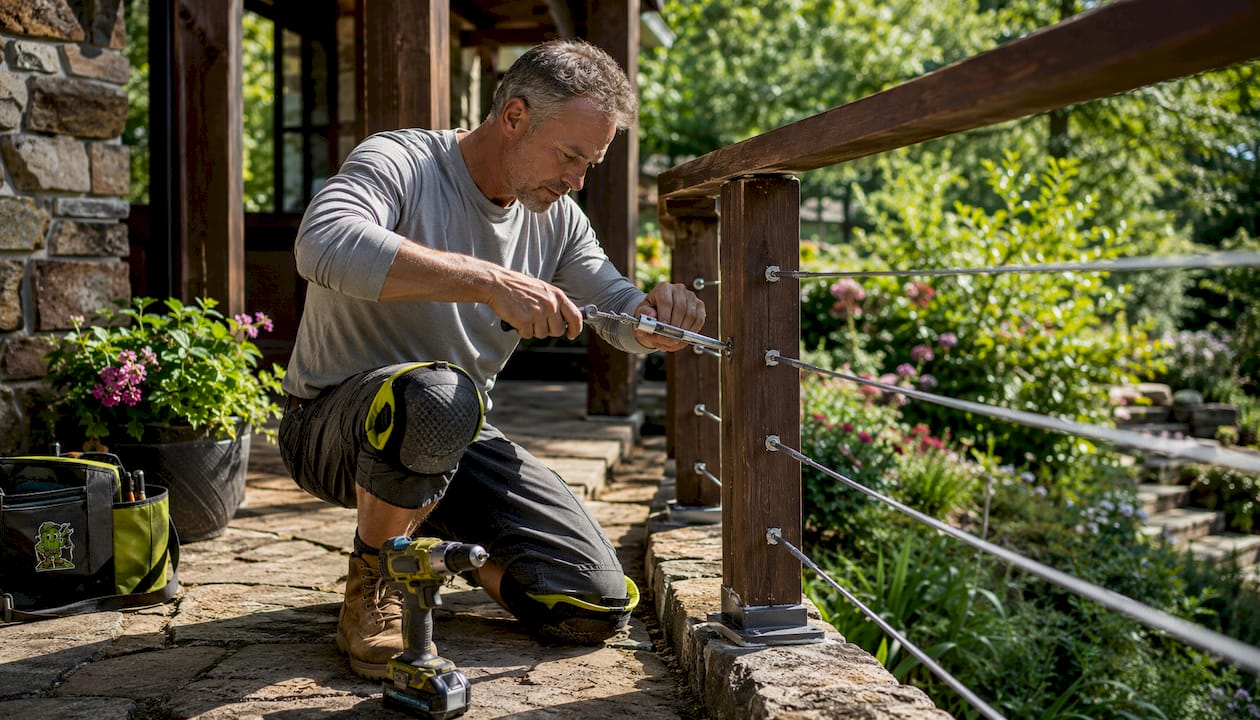
Cable deck railing is a high-tension stainless steel cable infill system stretched between posts to protect people on your deck while keeping your view wide open. The thin cable profile absorbs light rather than reflecting it, which is exactly why homeowners choose it over wood balusters or glass panels. For most residential projects, the right starting point is 1/8" (3.2mm) cable in 316 marine-grade stainless with swageless fittings for DIY or swaged terminations when a pro is doing the work.
Quick specs and next step:
Cable diameter: a standard small diameter suitable for residential use; a slightly larger size is used for longer spans
Material: 316 stainless steel for cables and all hardware
Rail height: a standard minimum height for most residential decks; higher heights may be required in specific situations
Cable spacing: close spacing on-center to satisfy the 4" sphere rule
Next step: For a warranty-backed install in Everett, WA, contact Cactusdecking for a site visit and quote
Table of Contents
What does a cable deck railing system actually include?
What types of cable railing kits are available?
How do you choose the right cable railing system for your deck?
What are the code and safety basics for U.S. residential decks?
How much does cable deck railing cost, and what are the trade-offs?
How is cable railing installed, and when should you hire a pro?
What maintenance do cable railings need over time?
Why hire a professional installer like Cactusdecking?
Key Takeaways
What installers see that homeowners miss
Cactusdecking brings your cable railing project from plan to permit to done
Sources and further reading
What does a cable deck railing system actually include?
A complete cable railing system has more parts than most homeowners expect when they first start shopping. Knowing each component helps you read a kit listing or contractor proposal without getting lost.
Core components:
Posts: The structural backbone. Wood, steel, and aluminum posts each require different fittings; post spacing typically stays at or under 48" to maintain cable tension across a run.
Top rail: Required for grip and code compliance; a bottom rail is optional but common on wood-frame systems.
Cable runs: The a standard small diameter stainless cable is commonly used for residential decks, with a slightly larger diameter chosen for longer spans to provide extra tension capacity.
End fittings and terminals: These anchor each cable run at the starting post. Quality matters here more than anywhere else in the system.
Intermediate supports: On spans over roughly 48", you need mid-run supports to prevent sag and keep spacing consistent.
Tensioners and turnbuckles: These let you dial in and later re-adjust tension after the cables have settled.
Material callout: 316 stainless is the grade to insist on. It contains molybdenum, which gives it meaningfully better corrosion resistance than 304 stainless, especially in coastal or high-humidity environments. Hardware labeled simply “stainless” without a grade number is a red flag.
Mounting types and what they change: Top-mount posts bolt through the deck surface; base-mount posts attach to the side of the rim joist; face-mount and fascia-mount styles sit on the outer face of the framing. Each mounting style changes the hardware package you need and the structural demands on your framing. A face-mount post on a long run puts significant lateral load on the rim joist, so the framing has to be up to the task before you order anything.
Residential rail height has a 36" minimum for most decks, with 42" required in certain high-elevation or commercial situations. Cable spacing is 3" on-center to prevent a 4" sphere from passing through, which is the baseline safety test referenced by IRC-aligned building codes across most U.S. jurisdictions.
What types of cable railing kits are available?
Kit types vary widely, and the price difference between an entry-level kit and a full-featured system often comes down to what’s left out, not what’s included.
The four main kit categories:
Full predrilled post kits: Posts arrive with holes already drilled at the correct spacing. This is the biggest labor-saver for a DIYer and worth paying extra for.
Post-plus-hardware kits: Posts and fittings bundled together, but you drill the holes yourself. Accurate drilling is harder than it sounds.
Bulk cable plus fittings only: You supply the posts and top rail. These kits work well for experienced builders who already have structural posts in place.
Stair-specific kits: Stair runs require angled fittings and different tensioning geometry. A standard horizontal kit will not work on stairs without significant modification.
What good kits include vs. what cheap kits skip:
Quality kits ship with pre-welded base plates, pre-drilled posts, 316 stainless hardware throughout, and clear tensioning instructions. Budget kits often omit tensioning tools, use 304 stainless or ungraded hardware, and leave you to figure out termination on your own.
The fitting choice is where most DIYers make or break the project. Swaged fittings require a hydraulic or manual crimping tool to create a permanent termination. They are the preferred choice for long runs and heavy-load applications because the termination is mechanically locked. Swageless fittings thread on by hand and are easier for a first-time installer, though they typically cost more per fitting. Manufacturers like Feeney offer frame-specific kit systems organized by wood, metal, and composite frames, which simplifies the selection process considerably.
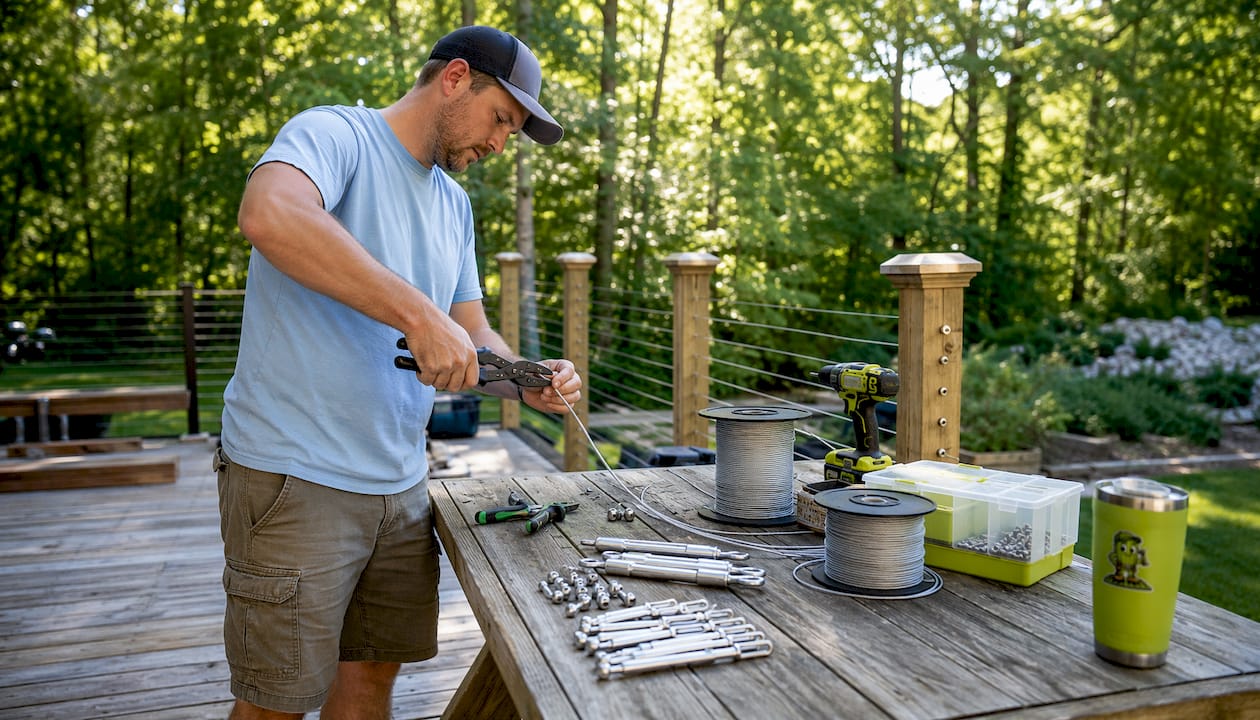
Pro Tip: If a kit advertises itself as “DIY-friendly,” check whether tensioning tools are actually included. Many kits that claim easy installation still require a separate cable cutter, hex wrenches, and a tension gauge. Add those costs to your comparison before deciding between kits.
How do you choose the right cable railing system for your deck?
The right system depends on your specific site conditions, not just your budget. Here is the checklist to work through before you buy.
Buying checklist:
Frame material: Wood, aluminum, and composite frames each need different fittings. Confirm your frame type before ordering.
Post spacing: Measure your existing post spacing or plan new posts at 48" or less to avoid intermediate supports on every run.
Cable diameter and grade: 1/8" (3.2mm) cable in 316 stainless is the baseline. Upgrade to 5/32" for spans over 8 feet or coastal exposure.
Fitting type: Swageless for DIY; swaged for pro installs on long or high-load runs.
Warranty: Kit warranties typically cover materials only. An installer-backed workmanship warranty covers the full installation.
Finish and color options: Posts and top rails come in powder-coated colors, raw stainless, and wood wraps; explore the broad range of decking options that complement cable railing systems. Match your deck’s existing aesthetic.
Ease of tensioning: Can you re-tension with standard hand tools, or does the system require proprietary hardware?
Match the system to your site: A straight 20-foot run on a ground-level deck is a reasonable DIY project with a quality kit. A wraparound deck with two stair runs and a corner post is a different job entirely. Corners require either a corner post with angled fittings or a redirected cable run, both of which add complexity. Coastal exposure in the Pacific Northwest makes 316 stainless non-negotiable rather than just recommended.
Reading spec sheets: Trust the material grade (316 vs. 304), the cable diameter, and the breaking strength rating. Question any kit that lists “stainless steel” without a grade, omits the tensioning method, or does not specify whether end fittings are included. A vague spec sheet usually means vague hardware.
What are the code and safety basics for U.S. residential decks?
Follow your local building code first. Most U.S. jurisdictions align with the International Residential Code, which sets the baseline requirements that local amendments build on.
The rules that apply to nearly every residential deck:
The IRC-aligned standard requires a minimum rail height of 36" for decks less than 30" above grade, with 42" required in some high-elevation or commercial situations. The 4" sphere rule is the practical test: no opening in the railing, including the space between cables, should allow a 4" sphere to pass through. At 3" on-center cable spacing, you satisfy this requirement with margin to spare.
Jurisdiction variation is real. Some cities and counties add requirements beyond the IRC baseline, including specific post-attachment engineering, load ratings for the deck framing, or restrictions on cable railing near pools. Washington State, for example, has its own amendments to the IRC that Everett homeowners need to check with their local building department.
One constraint that surprises many DIYers: local jurisdictions sometimes impose maximum unsupported span limits between posts, commonly around 48", to maintain cable tension. A contractor who knows the local code will design to that constraint from the start.
Pro Tip: Bring your kit’s spec sheet and a simple site sketch to your local building department before you order. A 15-minute conversation can save you from buying a system that fails inspection. If you’d rather skip that step, Cactusdecking handles permitting assistance as part of every installation.
How much does cable deck railing cost, and what are the trade-offs?
Cost depends on span length, post type, hardware grade, and whether you install it yourself or hire a contractor. Here is a realistic breakdown.
Typical price ranges:
Entry-level DIY kits (basic hardware, 304 stainless, no tools): roughly $150–$250 per linear foot of railing, materials only
Mid-range kits (316 stainless, swageless fittings, predrilled posts): roughly $200–$350 per linear foot
Premium systems (engineered posts, powder-coated finish, full hardware package): $300–$500+ per linear foot
Professional installation (labor plus materials): typically $150–$250 per linear foot on top of material costs, varying by region and project complexity
Variables that push costs up: stair runs (angled fittings and extra labor), corner posts (custom hardware), coastal-grade upgrades, permit fees, and any structural deck framing work needed before the railing can go in. If your existing posts are undersized or your rim joist needs reinforcement, budget for that separately.
Pros of cable railing:
Minimal visual obstruction; the thin cable profile preserves sightlines better than any baluster system
316 stainless hardware is highly durable and resists corrosion for decades with basic maintenance
Low ongoing maintenance compared to wood balusters
Adds perceived value to the property
Cons worth knowing:
Cables require periodic re-tensioning as they settle, especially in the first year
The horizontal cable pattern can be climbable for young children, which some parents consider a safety concern
Poor-quality fittings or improper termination can lead to sagging or fitting failure over time
Long runs need intermediate supports, which add cost and installation time
Budgeting tip: Build in extra percentage above your kit cost for additional hardware, permit fees, and tools you will need. Re-tensioning in year one is normal and not a sign of a failed install; plan for it.
How is cable railing installed, and when should you hire a pro?
A basic cable railing install follows a clear sequence. Understanding the steps helps you judge whether your project is a realistic DIY job or one that needs a contractor.
Installation overview:
Measure and plan: Calculate the number of cable runs needed based on post height and 3" on-center spacing. Confirm post locations and spacing (48" or less).
Prepare posts: Install or confirm structural posts are plumb and properly anchored. Predrilled posts save significant time here.
Install top rail: Attach the top rail to posts and confirm height compliance (36" minimum residential, 42" for certain high-elevation or commercial decks).
Run cables: Thread cable through intermediate posts and attach end fittings at the starting post.
Terminate and tension: Attach tensioners or turnbuckles at the far end. Apply tension gradually and evenly across all runs.
Final check: Verify 3" on-center cable spacing with a 4" sphere test, confirm all fittings are fully seated, and check for sag.
Stairs add a separate challenge. The cable angle changes with each tread rise, angled fittings are required, and the tension geometry is different from a horizontal run. Corners require either a structural corner post or a cable redirect, both of which need precise planning. Uneven tension across runs is the most common DIY failure point, and it leads to sagging cables that fail inspection.
When DIY makes sense: Short, straight runs with predrilled posts and swageless fittings on a simple rectangular deck. If your kit includes clear instructions and all the tools, a competent DIYer can handle it.
When to hire a pro:
Long spans (over 40 feet total), stair runs, or corner posts
Coastal or high-humidity exposure requiring engineered attachments
Permit-required projects or decks over 30" above grade
Any situation where your existing posts or framing may be undersized
Red flags that should push you toward a contractor: A kit that ships without tensioning tools, vague termination instructions, no material grade listed on the hardware, or posts that flex noticeably when you push on them. Those are not minor inconveniences; they are structural problems. For complex custom deck installations involving stairs or corners, professional engineering is worth every dollar.
What maintenance do cable railings need over time?
Cable systems are genuinely low maintenance, but “low” does not mean “none.” A consistent inspection routine keeps the system safe and extends its service life significantly.
Maintenance checklist:
Visual inspection: Walk the railing twice a year and look for sagging cables, loose fittings, or any sign of corrosion at the terminals.
Cleaning: Wash cables and hardware with mild soap and fresh water. Avoid abrasive cleaners, which scratch the stainless surface and accelerate corrosion.
Fitting inspection: Check end fittings and tensioners for pitting or rust. Surface discoloration on 316 stainless is usually cosmetic; pitting at the fitting threads is a sign to replace the hardware.
Re-tensioning: Cables stretch slightly during the first 6–12 months. Re-tension once after the first season, then check annually. Most swageless systems allow re-tensioning with standard hand tools.
Seasonal tips: A spring inspection after winter is the most important one. In the Pacific Northwest, check after any significant windstorm or heavy rain event. Coastal properties should rinse cables and hardware with fresh water monthly during summer to remove salt spray before it concentrates on the fittings.
Longevity factors: A system built with 316 stainless cable and quality fittings, properly tensioned and maintained, can last 20–30 years before any hardware replacement is needed. The weak link is almost always the fittings, not the cable itself. Cheap fittings corrode at the threads first, which is why the hardware grade matters as much as the cable grade.

Pro Tip: Keep a small hex wrench set near your deck access point. Re-tensioning a cable that has gone slightly slack takes about five minutes per run. Catching it early prevents the cable from developing a permanent set that makes re-tensioning harder later.
Why hire a professional installer like Cactusdecking?
Hiring a professional reduces the two biggest risks in cable railing: code non-compliance and structural failure from improper installation. Cactusdecking provides warranty-backed deck and railing services for Everett homeowners, with an in-house crew that handles every step from the first site visit to the final inspection.
The service process:
Site visit and measurement: Cactusdecking assesses your existing deck structure, post condition, and site-specific requirements before recommending a system.
Material selection: The team helps you choose the right cable diameter, post style, and hardware grade for your exposure and aesthetic.
Permitting: Cactusdecking manages permitting assistance and coordinates with the local building department so you do not have to navigate that process alone.
Installation: The in-house crew handles post preparation, cable runs, termination, and tensioning with professional tools calibrated for even tension across every run.
Final inspection: The completed installation is checked against local code requirements before the project is closed out.
Warranty distinction: Kit warranties cover materials only, and they typically require you to prove the failure was a manufacturing defect. An installer-backed workmanship warranty covers the installation itself, meaning if a fitting works loose or tension is uneven after the job is done, the contractor comes back to fix it. That difference matters most in the first two years when most installation-related issues surface.
For deck stair railing projects specifically, professional installation is almost always the right call. The combination of angled fittings, changing geometry, and code requirements for stair guards makes stair runs the most technically demanding part of any cable railing project.
Typical project timeline: A standard railing replacement or upgrade on an existing deck in Everett typically takes from a short time up to several weeks from initial consultation to completed installation, depending on permit processing and material availability. Complex projects with stair runs or structural framing work take longer.
Key Takeaways
Cable deck railing done right requires 316 stainless hardware, cable spacing at 3" on-center, and either a quality swageless kit for simple DIY runs or a warranty-backed professional installer for anything involving stairs, corners, or permit requirements.
Point | Details |
|---|---|
Material grade matters most | Specify 316 stainless for cables and all hardware; avoid ungraded “stainless” labels. |
Cable spacing and height | Space cables at 3" on-center and confirm rail height meets local code (36" minimum for most residential decks, 42" for some commercial or high-elevation decks). |
Fitting choice drives DIY success | Swageless fittings simplify DIY installs; swaged terminations offer better long-term integrity for pro installs on long spans. |
Budget realistically | Factor in permit fees, tensioning tools, and re-tensioning in year one beyond the kit price. |
Cactusdecking for warranty-backed work | Cactusdecking handles design, permitting, and installation for Everett homeowners with a workmanship warranty included. |
What installers see that homeowners miss
The most common problems I see when evaluating a DIY cable railing job are undersized posts, uneven tension, and terminations that were never fully seated. Homeowners often focus on the cable itself and underestimate how much load the end posts carry. On a 30-foot run, the tension across all cables adds up to hundreds of pounds of lateral force on those end posts. If the post is undersized or the base plate is not properly anchored, the whole system leans over time.
Corners are where most DIY installs fall apart. A cable cannot make a true 90-degree turn without a structural corner post or a redirect fitting, and both require precise planning before a single hole is drilled. I have seen installs where the homeowner tried to run the cable around a corner by bending it slightly, which concentrates stress at one point and eventually causes the cable to fail at that bend.
Stair runs are the other frequent challenge. The angle of the stair changes the effective spacing between cables, so what measures correctly on a horizontal run can fail the 4" sphere test on the stair section. A pro accounts for that geometry during the planning phase, not after the cables are already run.
If you have photos of your existing deck or a rough plan, bring them to a consultation. Seeing the site conditions early is what allows Cactusdecking to give you an accurate quote and a realistic timeline, rather than discovering surprises mid-install.
Cactusdecking brings your cable railing project from plan to permit to done
Buying a kit online and installing cable railing yourself is a real option for a simple, straight deck run. But for most Everett homeowners, the combination of permit requirements, structural post demands, and the precision tensioning that a quality install requires makes professional installation the smarter path. Cactusdecking covers the full scope: deck design consultation, permitting, in-house installation by a dedicated crew, and a workmanship warranty that protects you after the job is complete.

What Cactusdecking handles for you:
Railing system selection and material specification
Permit applications and building department coordination
Professional cable tensioning with calibrated tools
Stair railing, deck replacement, and full custom deck installation
Design consultation to integrate railing into your overall deck plan
Ready to see what your deck could look like? Browse the finished project gallery or schedule a site visit to get a quote tailored to your deck’s specific layout and your local code requirements.
Sources and further reading
The specifications and code references in this article draw from the following sources. Bring relevant spec sheets and site measurements to any building department conversation.
Source | What it covers |
|---|---|
IRC baseline requirements for residential railing height, baluster spacing, and structural load | |
Industry standards for deck construction, railing systems, and contractor certification | |
Residential construction standards and homeowner guidance on deck safety | |
National Ornamental & Miscellaneous Metals Association (NOMMA) | Metal railing fabrication standards and installer best practices |
Stair and stair railing code guidance relevant to cable stair runs | |
Local service scope, warranty terms, and railing installation process for Everett, WA | |
Cactusdecking — Deck Services | Full service overview including permitting assistance and design consultation |
What to bring to a building department visit: Your kit’s spec sheet (showing cable diameter, material grade, and fitting type), a simple site sketch with post spacing and deck height above grade, and photos of your existing framing if you are upgrading an existing deck. Most permit offices can tell you within minutes whether your planned system meets local requirements or needs an engineered attachment detail.